Escape to a tropical paradise with every spoonful of this incredibly delicious Coconut Pineapple Milk Jam! This unique recipe combines the sweet tang of ripe pineapple with the creamy richness of coconut milk, creating a flavor explosion that's perfect for breakfast toast, afternoon tea, or as a decadent filling for pastries. Forget the usual store-bought jams – this homemade version is bursting with fresh, natural flavors and requires surprisingly few ingredients. The delightful balance of sweetness and subtle tartness will quickly become a new favorite in your kitchen.
Imagine a jam so smooth, so flavorful, and so easy to make, it'll become a staple in your pantry. This Coconut Pineapple Milk Jam recipe delivers just that, offering a unique twist on a classic spread. Ready to transform simple ingredients into a taste of the tropics? Let's dive into the easy step-by-step process and create this unforgettable jam together!
Tools Needed
- Grater
- Bowl
- Pan
- Stove
- Fan
Ingredients
- Coconut rice: 500g
- Sugar: 250g
- Condensed milk: 2 tablespoons + a little more
- Salt: 1/3 teaspoon
- Pineapple syrup: 2 tablespoons
- Vanilla extract: 2 tubes
Step-by-Step Instructions
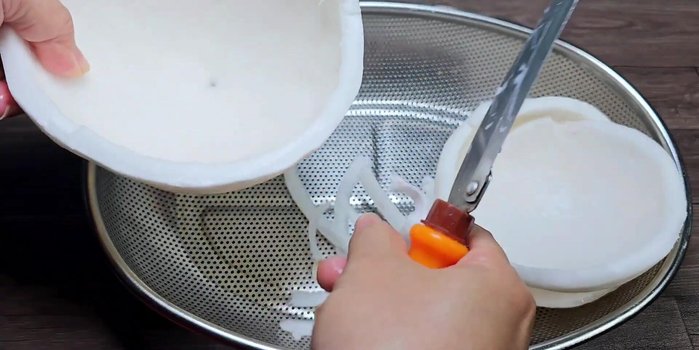
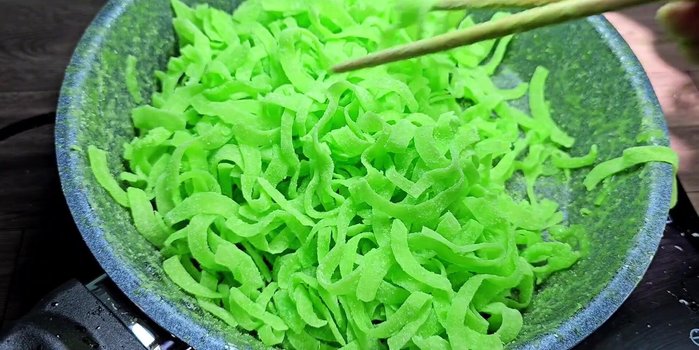
Step 1. Prepare the Coconut Mixture
- Grate 500g of coconut rice. Use coconut rice that is slightly firm but not old.
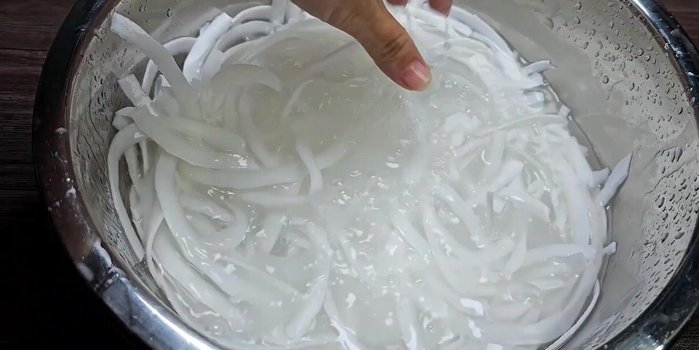
- Rinse the grated coconut rice once or twice, but not too thoroughly to preserve the fat.
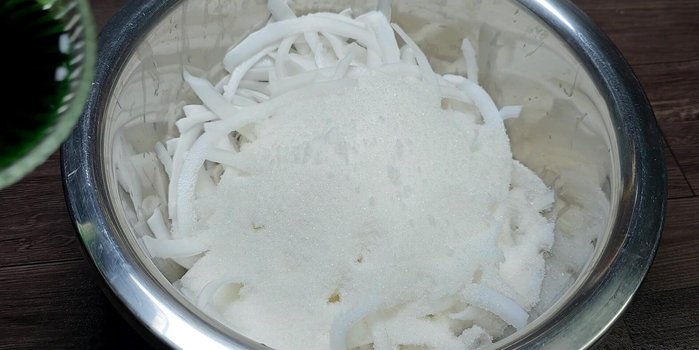
- In a bowl, combine the coconut rice, sugar, salt, pineapple syrup, and condensed milk. Mix well. Marinate for at least 6-8 hours (or overnight).
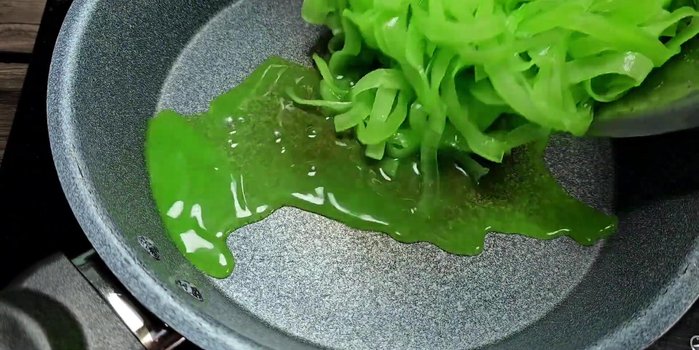
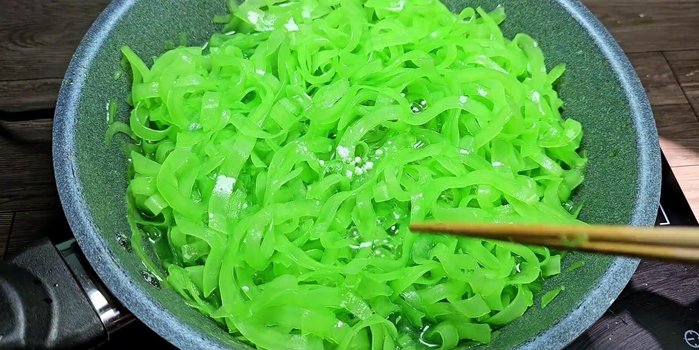
Step 2. Cook the Jam
- Transfer the mixture to a pan. Cook over high heat until the sugar water boils.
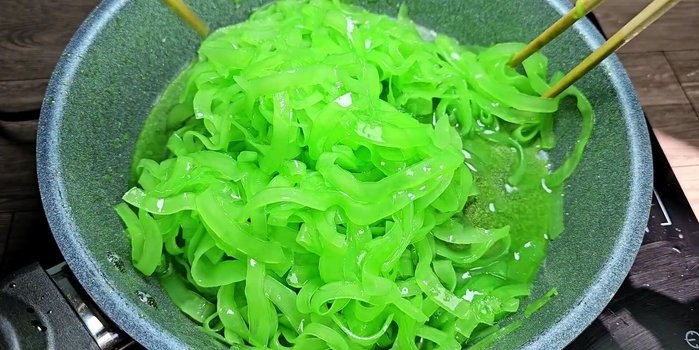
- Reduce heat to medium and cook slowly, stirring constantly to prevent burning. Stir evenly to ensure the sugar water is absorbed evenly.
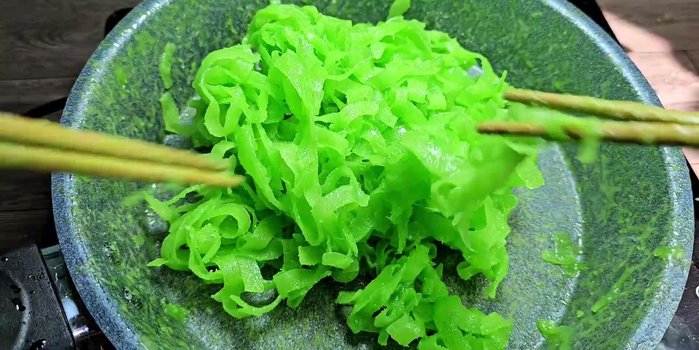
- Add vanilla extract and continue stirring.
- The jam will appear lumpy at first, but continue stirring until the sugar is evenly distributed. This may take time.

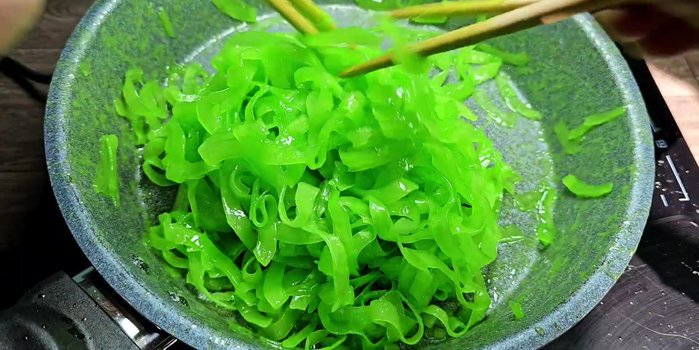
Step 3. Dry and Cool the Jam
- Continue stirring until the jam is dry and forms sugar threads. This takes patience and continuous stirring to avoid burning.
- If the jam is still sticky, use a fan on high power to cool and solidify the sugar crystals more quickly. This prevents burning if you continue cooking on the stove.
- Once dry, let the jam cool. It will be initially soft. If you have sunlight, let it dry in the sun for 10-15 minutes to harden. If not, use a fan.
Read more: Vietnamese Sponge Wedding Cake: A Step-by-Step Guide
Tips
- For a drier jam, use slightly firmer coconut rice.
- Don't rinse the coconut rice too much.
- Adding more condensed milk will result in a softer, richer jam. You can omit it for a firmer texture, especially when you are a beginner.
- Continuous stirring is crucial to prevent burning and ensure even cooking.
- Using a fan helps the sugar crystals solidify faster.
- The jam will initially be soft, but will harden as it cools.
Nutrition
- N/A
FAQs
1. Can I use canned pineapple instead of fresh?
Yes, but fresh pineapple will yield a brighter, more vibrant flavor. If using canned, ensure it's in juice, not syrup, and drain it well before using.
2. How long will the Coconut Pineapple Milk Jam last?
Properly stored in a sterilized jar in the refrigerator, this jam should last for about 2-3 weeks. For longer storage, consider canning it using a water bath method.
This Coconut Pineapple Milk Jam is a testament to the magic of simple ingredients transformed into something truly special. Enjoy spreading this tropical delight on your favorite treats, knowing you’ve created a delicious and unique homemade jam. Happy jamming!