Dive into a world of vibrant textures and tropical flavors with this irresistible Colorful Coconut Jelly recipe! Forget those watery, disappointing jellies of the past; this recipe delivers a perfectly chewy, delightful treat bursting with color and the subtle sweetness of coconut. Imagine a dessert that's as beautiful as it is delicious, perfect for summer parties, elegant desserts, or a simple afternoon pick-me-up. We've mastered the art of creating a coconut jelly that’s firm yet bouncy, avoiding the common pitfalls of a runny texture.
This recipe uses simple ingredients, easily accessible at your local grocery store, to create a truly stunning and unforgettable dessert. From choosing the right agar-agar to achieving the perfect consistency, we'll guide you every step of the way. Ready to create your own masterpiece? Let's get started with our step-by-step guide below!
Tools Needed
- Pot
- Sieve
- Blender
- Jelly pouring cups
Ingredients
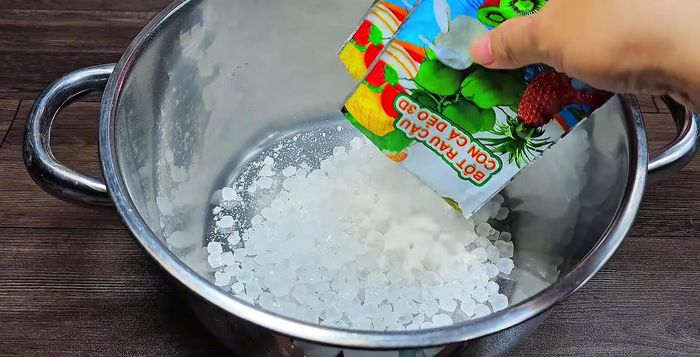
- Jelly powder: 2 packets
- Rock sugar: 400 grams
- Salt: 1/3 teaspoon
- Pandan leaves: 50 grams
- Thai mint leaves: 50 grams
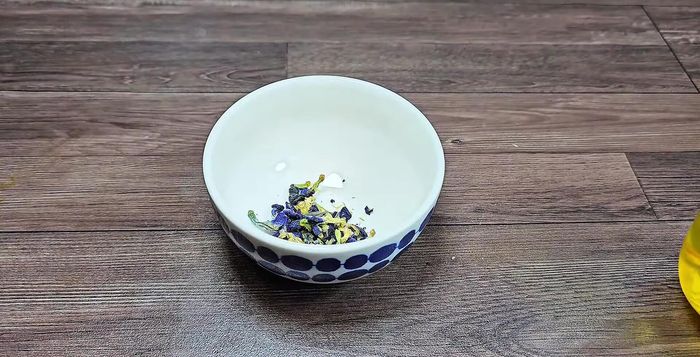
- Pea flowers: a few
- Coconut milk: 100 ml
- Water: 2 liters
Step-by-Step Instructions
Step 1. Prepare the Jelly Mixture
- Combine rock sugar and jelly powder in a pot. Mix well.
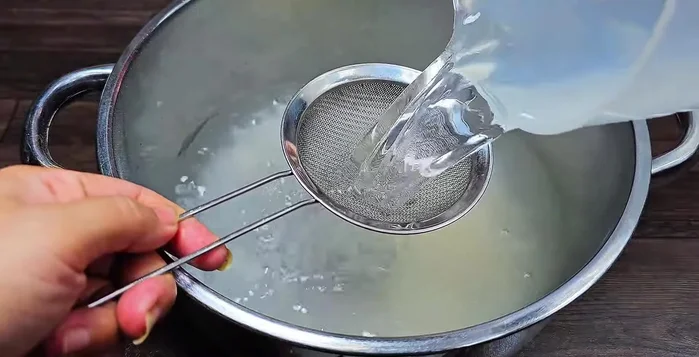
- Add fresh coconut water, filtered through a sieve to remove residue. Adjust sugar amount based on coconut water sweetness.
- Stir well and let it sit for 15-20 minutes. Then cook.
- Cook the jelly mixture until slightly thickened, stirring occasionally to prevent sticking.

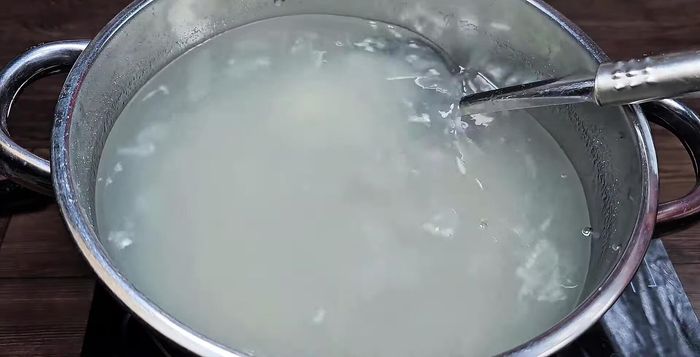
- Once boiling, skim off any foam for a clearer jelly.
- Add salt, stir well, and reduce heat to maintain a simmer, preventing evaporation and hardening.
Step 2. Prepare Natural Food Coloring
- Steep pea flowers in 150ml boiling water. Cook pandan leaves with 200ml water, blend, and sieve.
Step 3. Layer and Set the Jelly
- Layer the jelly into cups using the prepared colors, starting with a white layer and adding other colors as desired. Allow each layer to set slightly before adding the next.
Step 4. Finish and Chill
- Finish with a layer of coconut milk, stir well and pour over the jelly.
- Refrigerate for at least 2-3 hours, or overnight, for optimal setting and flavor.
Read more: Vietnamese Sponge Wedding Cake: A Step-by-Step Guide
Tips
- Adjust sugar amount based on coconut water sweetness.
- Cook the natural colorings until they reach your desired intensity.
- Don't overheat the jelly mixture to prevent it from becoming hard and dry.
- Skim foam regularly while cooking the jelly mixture.
- The use of jelly pouring cups makes layering easier, but you can improvise.
- Experiment with color combinations for a personalized look.
Nutrition
- N/A
FAQs
1. Why is my coconut jelly watery?
This usually happens if you haven't used enough agar-agar or if you haven't boiled the mixture long enough. Make sure you accurately measure the agar-agar and boil until it's completely dissolved and slightly thickened.
2. Can I use other types of milk instead of coconut milk?
Yes! You can experiment with other milk alternatives like almond milk or soy milk, but the flavor will be different. Coconut milk provides the best flavor and texture for this recipe.
This Colorful Coconut Jelly recipe is a guaranteed crowd-pleaser, offering a delightful balance of texture and flavor. With a little patience and these simple steps, you can create a stunning dessert that's both visually appealing and incredibly satisfying. So go ahead, impress your friends and family with this easy-to-make, chewy, and perfectly vibrant treat!