Forget everything you thought you knew about mooncakes. This year, we're ditching the traditional and embracing a delightfully chewy, modern twist: Mochi Mooncakes! These delectable treats combine the soft, pillowy texture of mochi with the rich, savory flavors of salted egg yolk and succulent shredded pork. Imagine biting into a perfectly formed sphere, the delicate mochi yielding to a burst of savory goodness – a harmonious blend of textures and tastes that’s sure to impress. This innovative recipe offers a unique take on a classic autumnal delight, perfect for sharing with friends and family during the Mid-Autumn Festival or any special occasion.
Prepare to be amazed as we guide you through a simple yet rewarding journey of creating these exquisite Mochi Mooncakes. From preparing the mochi dough to expertly assembling the filling and achieving that perfect golden-brown finish, this step-by-step guide will empower you to craft these beautiful and delicious mooncakes from the comfort of your own kitchen. Get ready to elevate your Mid-Autumn celebrations with this irresistible recipe!
Tools Needed
- basin
- egg beater
- sieve
- pan (non-stick)
- air fryer or oven or steamer
- bowl
- blender
- 300g mooncake mold
- whisk
- spray bottle or brush
Ingredients
Step-by-Step Instructions
Step 1. Prepare the Fillings
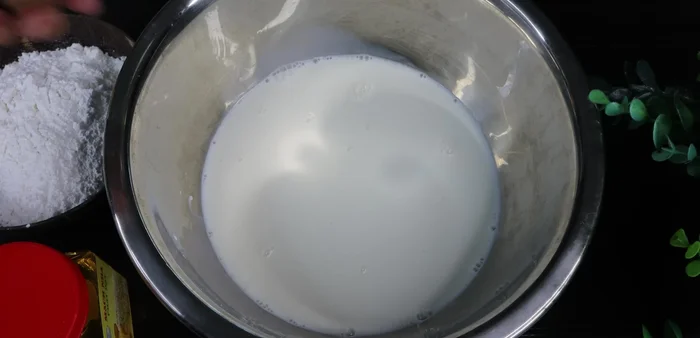
- Combine milk, cooking oil, maltose, and sticky rice flour in a basin. Stir well until smooth.
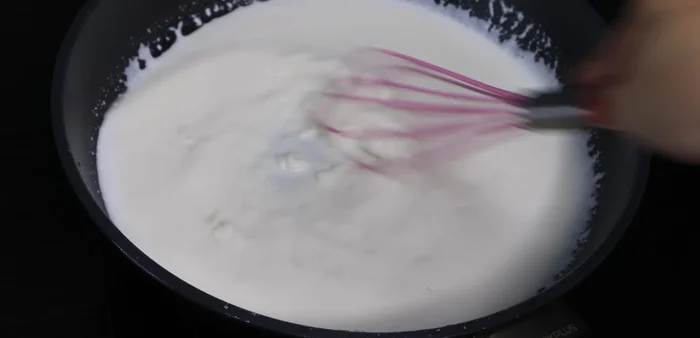
- Cook the mixture in a non-stick pan over medium heat, stirring constantly until thickened and cooked through. Let cool.
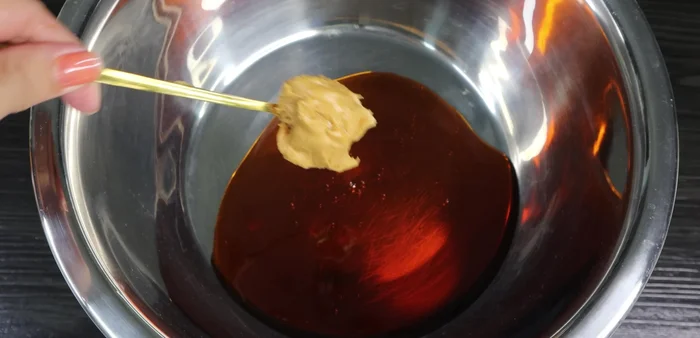
- Bake or steam salted egg yolks until cooked. Once cool, mash or blend them with flower tea and peanut butter.
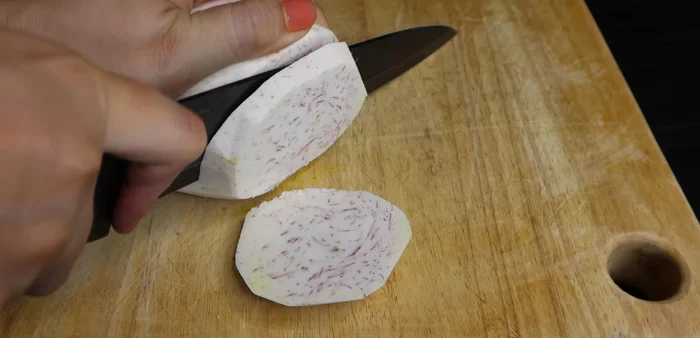
- Steam taro and purple sweet potato until tender. Blend with sugar, salt, condensed milk, cooking oil, and cornstarch until smooth. Cook over low heat, stirring until thickened and a block forms.
Step 2. Prepare & Assemble the Mooncakes
- Combine sugar, butter, peanut butter, egg yolk, cooking oil, and flour. Mix well, adding sugar water as needed to achieve desired consistency.
- Divide the dough, Mochi filling, salted egg yolk filling, and taro filling into equal portions. Layer the fillings (Mochi, salted egg yolk, taro) inside the dough and form into balls.

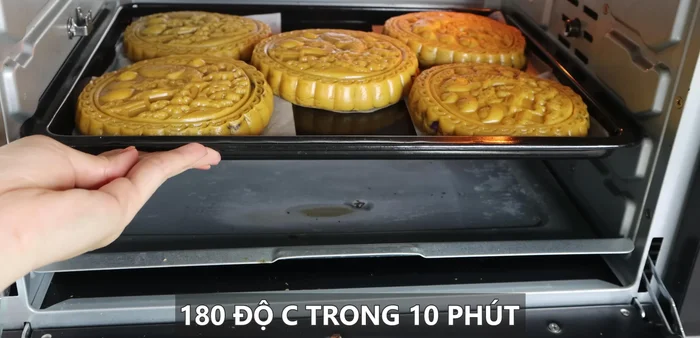
Step 3. Mold and Bake the Mooncakes
- Dust the mooncake mold with flour. Press the dough ball into the mold to create the desired shape. Gently remove the mooncakes.
- Preheat oven to 180 degrees. Bake for 10 minutes, then brush with water and bake for another 15 minutes. Brush with egg wash for a glossy finish.

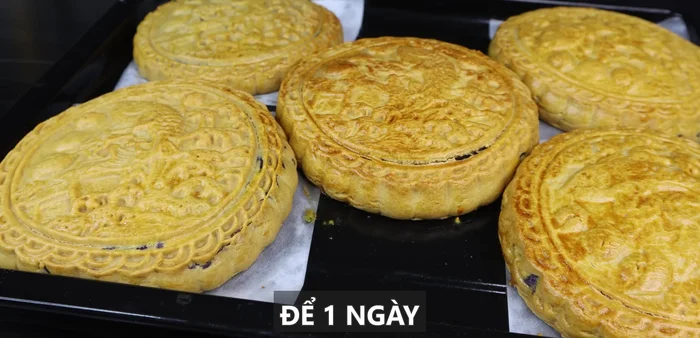
Step 4. Cool and Serve
- Let the mooncakes cool completely before serving.
Read more: Vietnamese Sponge Wedding Cake: A Step-by-Step Guide
Tips
- Use a non-stick pan for cooking the Mochi filling to prevent sticking.
- Stir the Mochi filling continuously to prevent burning.
- Use good quality flower tea for a better flavor.
- Don't overmix the cake crust; overmixing will make it tough.
- Let the baked mooncakes cool overnight for a softer texture and better color.
Nutrition
- N/A
FAQs
1. Can I make these mochi mooncakes ahead of time?
Yes! They're best enjoyed fresh, but you can store them in an airtight container in the refrigerator for up to 3 days or freeze them for up to a month. Thaw overnight in the refrigerator before serving.
2. What if I don't have glutinous rice flour? Can I substitute it?
Glutinous rice flour (also called sweet rice flour) is key to the mochi's texture. Substituting with all-purpose flour won't give you the same chewy consistency. Look for it in Asian grocery stores or online.
So there you have it – your guide to creating the trendiest mooncakes of 2024! These mochi mooncakes with salted egg yolk and shredded pork offer a unique and delicious twist on a classic treat, impressing even the most discerning palate. Happy baking, and happy Mid-Autumn Festival!