Pickled kumquats: a surprising delight that transforms the tart little fruit into a sweet and tangy culinary gem. These bite-sized citrus treasures, often overlooked, possess a unique flavor profile that shines when expertly pickled. The resulting delicacy offers a refreshing contrast to rich dishes, adds a sophisticated zest to salads, or simply provides a delightful snack. Imagine the vibrant color, the satisfying crunch, and the explosion of sweet and sour flavors dancing on your palate. Their versatility extends beyond simple enjoyment; pickled kumquats make a stunning and unusual gift, showcasing your culinary creativity.
This recipe unveils the secrets to creating perfectly pickled kumquats, balancing sweetness, acidity, and spice to achieve the ideal flavor. Ready to embark on this exciting culinary journey and transform ordinary kumquats into extraordinary pickled delights? Let's dive into the step-by-step process, guiding you through each stage with ease and precision.
Tools Needed
- Basin
- Pot
- Stove
- Glass jar
- Tray
- Stick
Ingredients
- Kumquats: 1.5kg
- Salt: 300g + 2 handfuls
- Sugar: 600g
- Water: 1.5 liters
Step-by-Step Instructions
Step 1. Prepare the Kumquats
- Select juicy, ripe yellow kumquats. Wash thoroughly.
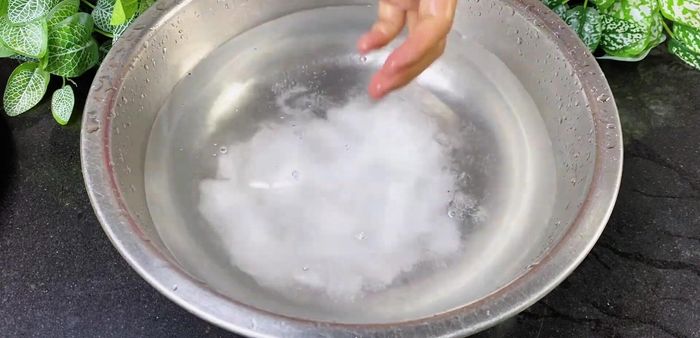
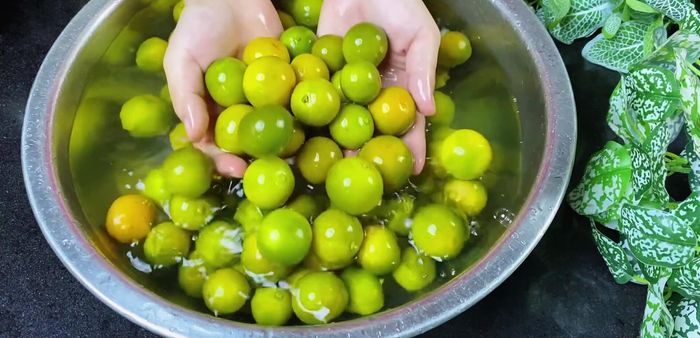
- Prepare a basin of water with two handfuls of salt. Add the kumquats and gently rub to release essential oils. Do not crush them.
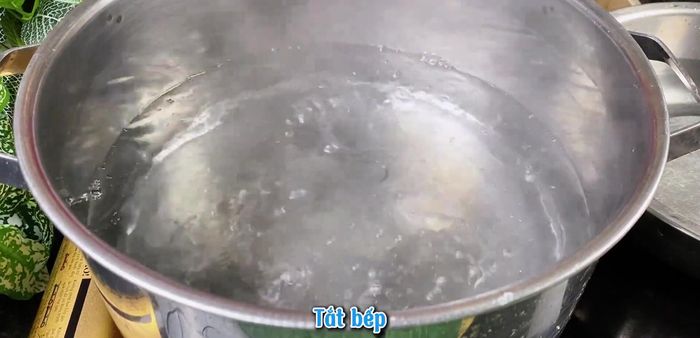
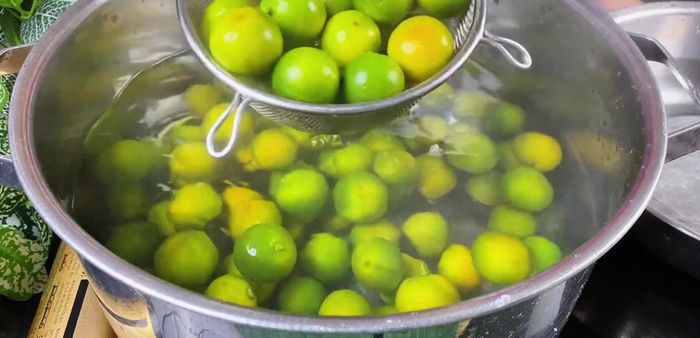
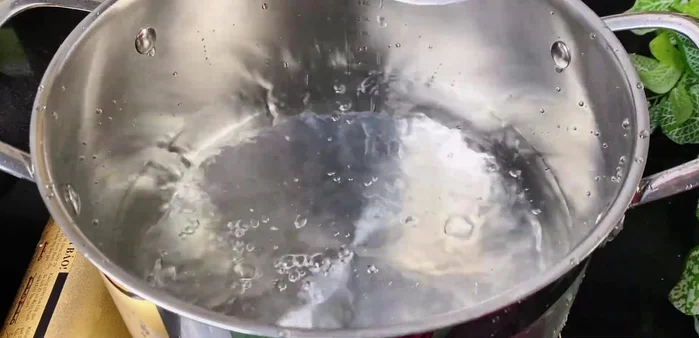
- Boil a pot of water, then turn off the heat. Add the kumquats to the hot water and stir gently two or three times to blanch them. This helps prevent bitterness and keeps them from shrinking during pickling.
- Immediately transfer the blanched kumquats to a basin of cold water to cool them down quickly.

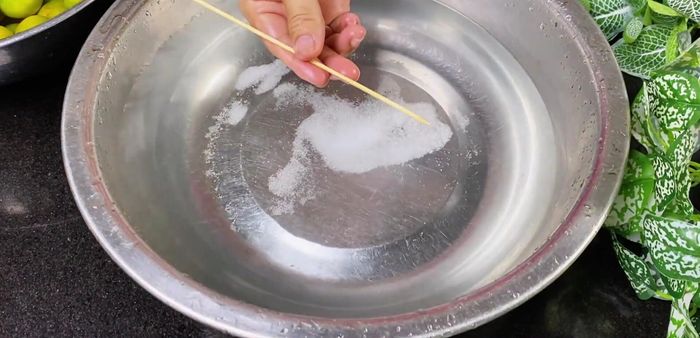
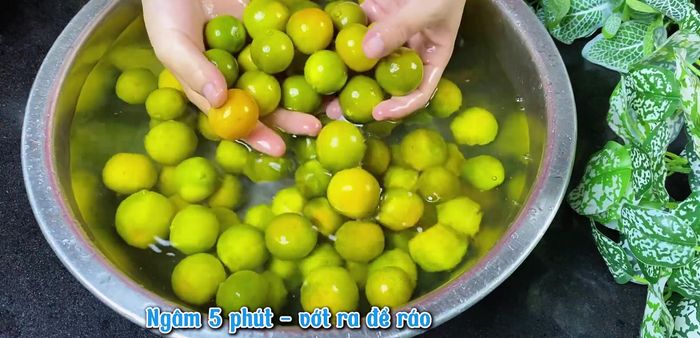
- Prepare a diluted saltwater solution. Use a stick to gently insert the saltwater mixture into the flesh of each kumquat. This helps the kumquats absorb the salt water evenly and prevents shrinking during soaking.
- Soak the kumquats in the diluted saltwater for about 5 minutes.
- Remove the kumquats and drain them on a tray.
Step 2. Make the Pickling Liquid
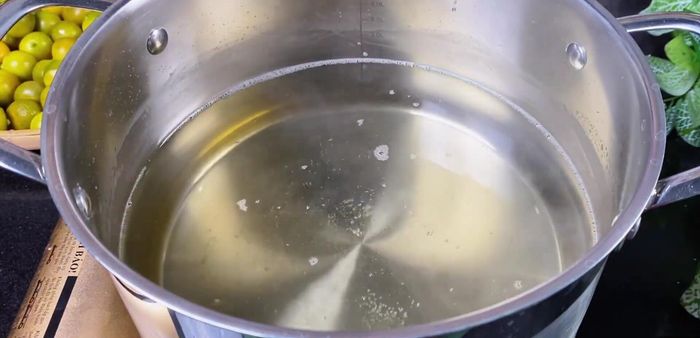
- Combine 1.5 liters of water, 300 grams of salt, and 600 grams of sugar in a pot. Bring to a boil, remove any foam, and stir until the salt and sugar dissolve completely.
- Turn off the heat and let the pickling liquid cool completely.
Step 3. Pickle and Store
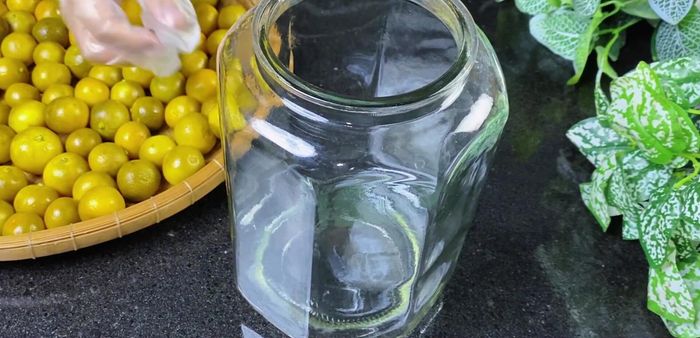
- Sterilize a glass jar by blanching it in hot water. Dry thoroughly.
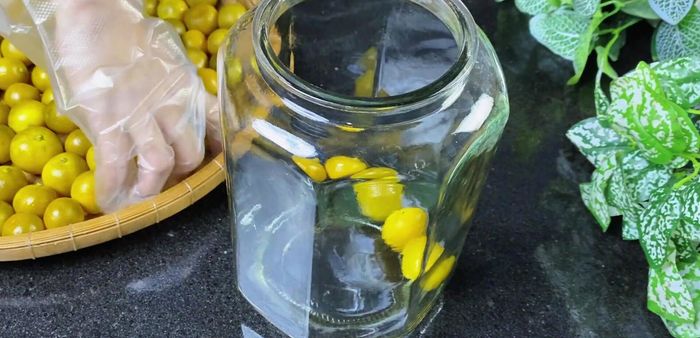
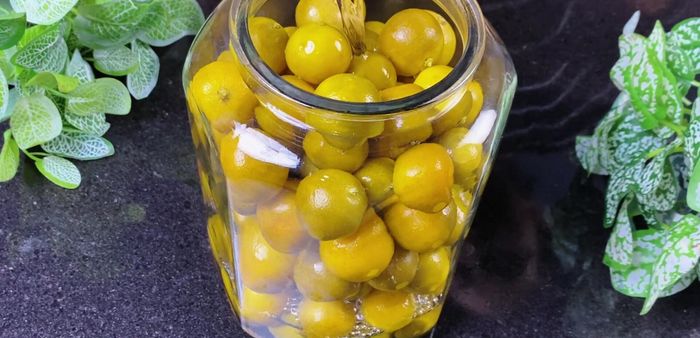
- Pack the drained kumquats into the sterilized jar.
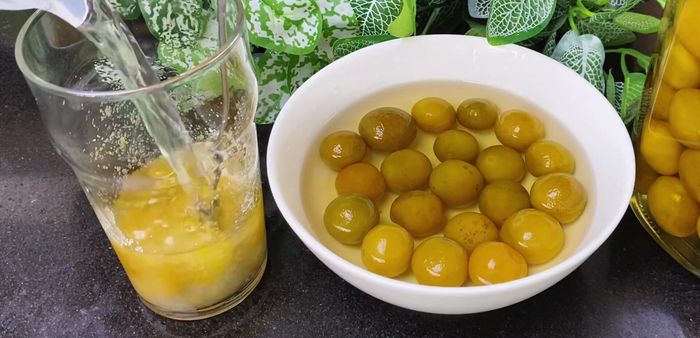
- Pour the completely cooled pickling liquid into the jar, ensuring the kumquats are fully submerged. Use a bowl to press them down if necessary.
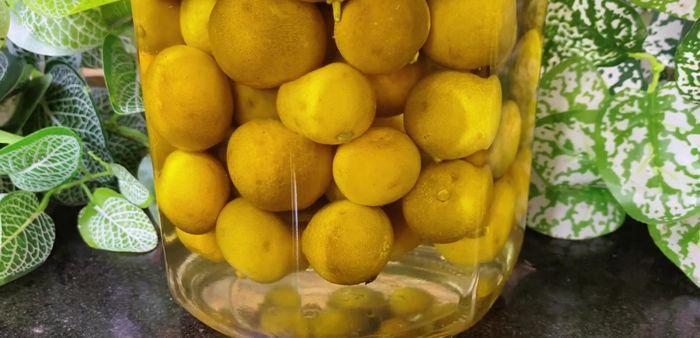
- Cover the jar and place it in direct sunlight (if available) or at room temperature for about 1 month to allow the kumquats to ripen.
Step 4. Enjoy!
- After 1 month, the pickled kumquats are ready to enjoy. You can adjust sugar according to taste, adding more sugar and water and dissolving it completely.
Read more: Crunchy Pickled Firecracker Eggplant: A Vietnamese Recipe
Tips
- Choose kumquats that are juicy and have a ripe, yellow color. They will develop a more beautiful yellow color after pickling.
- Gently knead the kumquats to release their essential oils, but avoid crushing them.
- Blanching and then immediately cooling the kumquats helps prevent bitterness and keeps them from cooking too deeply.
- Submerging the kumquats completely in the pickling liquid prevents mold and ensures even pickling.
- Allow the pickling liquid to cool completely before pouring it over the kumquats to prevent them from overcooking.
- Pickled kumquats can be stored for up to one year.
Nutrition
- N/A
FAQs
1. How long do pickled kumquats last?
Properly stored in the refrigerator, your pickled kumquats should last for several months. Make sure they're fully submerged in the brine.
2. Can I use different types of vinegar?
Yes! White wine vinegar, apple cider vinegar, or even rice vinegar can be used, but the flavor will vary slightly. White wine vinegar is a classic choice.
Enjoy the delightful tang and satisfying crunch of your homemade pickled kumquats. Their unique flavor profile makes them a versatile addition to various dishes and a delightful treat on their own. So go ahead, impress your friends and family with this simple yet elegant recipe!