Imagine the vibrant pop of pickled plums, their sweet and tart tanginess, transformed into a surprisingly versatile seasoning. Pickled plum salt isn't just a unique addition to your spice rack; it's a culinary adventure waiting to happen. This simple yet sophisticated condiment elevates everything from grilled meats and roasted vegetables to salads and even cocktails. Its deep umami notes and bright acidity offer a complex flavor profile that will leave you wanting more. Forget bland – this is where flavor explodes.
This surprisingly easy-to-make pickled plum salt is far more impressive than its humble ingredients suggest. From the initial brine to the final, perfectly seasoned crystals, the process is remarkably straightforward. Ready to unlock the secrets of this delicious condiment and learn how to make your own batch? Let's dive into the three simple steps that will transform ordinary plums into an extraordinary seasoning.
Tools Needed
- Blender
- Pan
- Jar
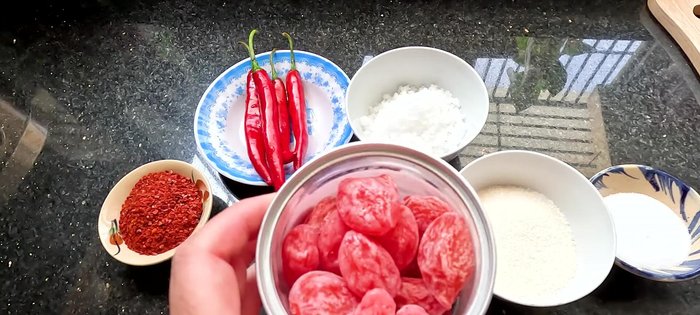
Ingredients
- Sugar (white): 100g
- Dried refined salt: 50g
- Coarse salt (sea salt): 100g
- Pickled plums: 100g
- Chili peppers: 4-5
- Korean chili powder: 20-30g
Step-by-Step Instructions
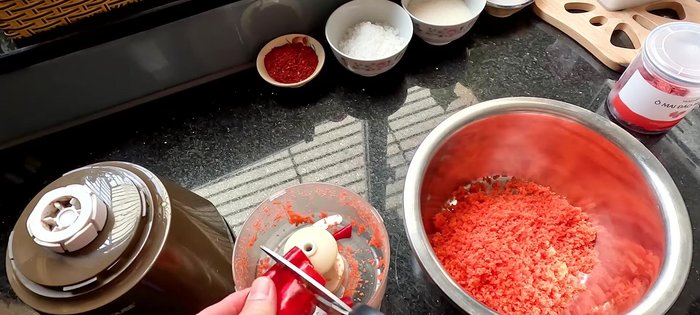
Step 1. Prepare the Plum and Chili Base
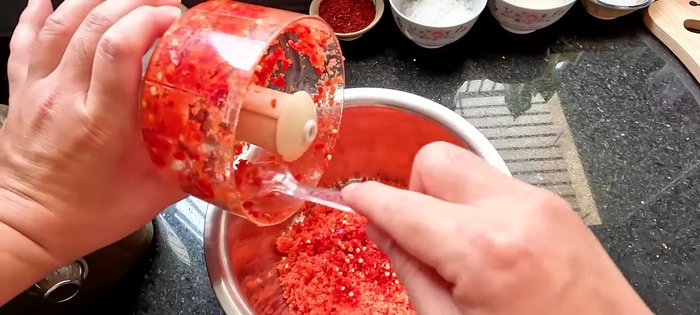
- Blend the pickled plums until crushed and smooth. The smoother, the better the taste.
- Blend the chili peppers until smooth.
- Use low heat to avoid burning the plums).
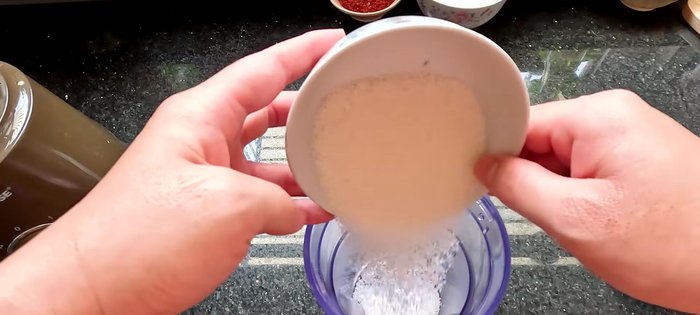
Step 2. Prepare the Salt and Sugar
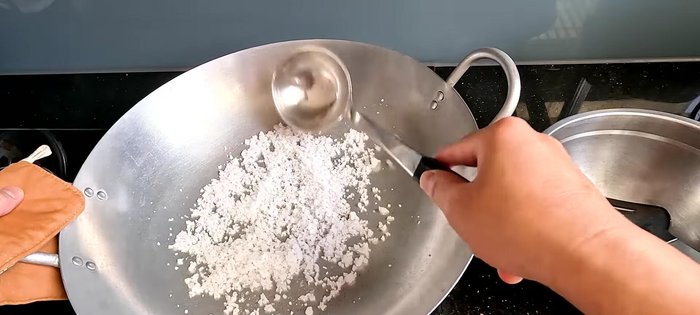
- Grind the granulated sugar until smooth. (If using regular sugar, this step can be skipped).
- Pound the dried refined salt until crushed, not ground, for a crispy texture. Dry roast separately until crispy.
Step 3. Combine and Roast
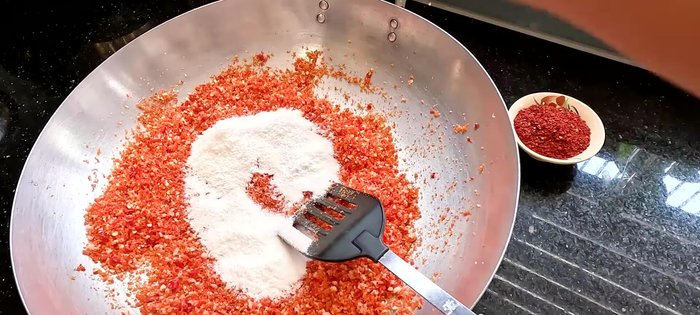
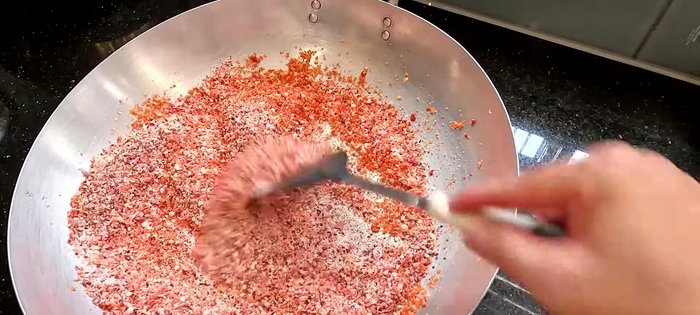
- Combine the dry-roasted plums and chilies with the dry-roasted salt. Add the powdered sugar and chili powder. Mix well.
Step 4. Store and Preserve
- Transfer the mixture into a sterilized jar. Store in the refrigerator for long-term preservation (up to a year) or at room temperature for 1-2 months.
Read more: Crunchy Pickled Firecracker Eggplant: A Vietnamese Recipe
Tips
- For a spicier result, add more chili peppers.
- This pickled plum salt is best served as a dip for sweet fruits like strawberries, mangoes, or guavas.
- Maintain low heat while roasting the salt and plums to prevent burning. Stir constantly.
- After roasting, spread the salt mixture thinly to dry completely (2-3 hours) for optimal preservation.
- Sterilize jars by boiling them in water before adding the pickled plum salt.
Nutrition
- N/A
FAQs
1. Can I use other types of plums besides Japanese plums?
Yes! While Japanese plums are traditionally used, you can experiment with other firm, tart plums. The flavor will vary slightly, but it will still be delicious.
2. How long will my pickled plum salt last?
Stored in an airtight container in a cool, dark place, your pickled plum salt should last for several months. Always check for any signs of mold before using.
With just three simple steps, you've now unlocked the secret to creating a truly unique and flavorful condiment. This pickled plum salt will add a burst of unexpected deliciousness to all your culinary creations. So go ahead, experiment, and enjoy the exciting world of flavor that this simple recipe unlocks!