Salted duck eggs, with their rich, creamy yolks and subtly salty whites, are a culinary treasure enjoyed across many Asian cuisines. These aren't your average eggs; the preservation process imbues them with a unique depth of flavor, transforming a simple ingredient into a gourmet delicacy. Whether you're a seasoned cook or a curious beginner, the rewarding experience of making your own salted duck eggs at home is hard to beat. The process is surprisingly straightforward, yielding results far superior to store-bought versions.
Forget the strong fishy smell often associated with commercially produced salted eggs; this recipe guarantees a clean, delicious outcome. We'll guide you through each step, from selecting the freshest duck eggs to achieving the perfect level of saltiness. Ready to embark on this flavorful journey? Let's dive into the detailed, step-by-step instructions below.
Tools Needed
- Pot
- Jar (glass, plastic, or ceramic)
- Scale (optional)
Ingredients
- Duck eggs: 18
- Sea salt: 2 cups
- Water: 8 cups
- Ginger: 50 grams
- White wine
Step-by-Step Instructions
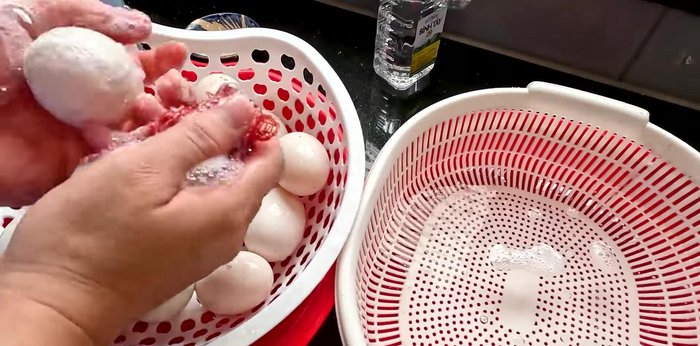
Step 1. Prepare and Sterilize
- Wash the duck eggs thoroughly with cold water. Pay extra attention to cleaning off any dirt. Rinse with white wine to sterilize.
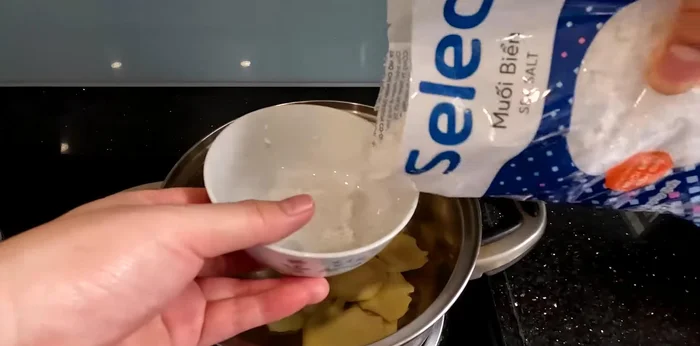
Step 2. Make and Cool the Brine
- In a pot, combine the salt and water. Add sliced ginger and bring to a boil. Simmer for 3-5 minutes. Then remove from heat and let it cool completely.
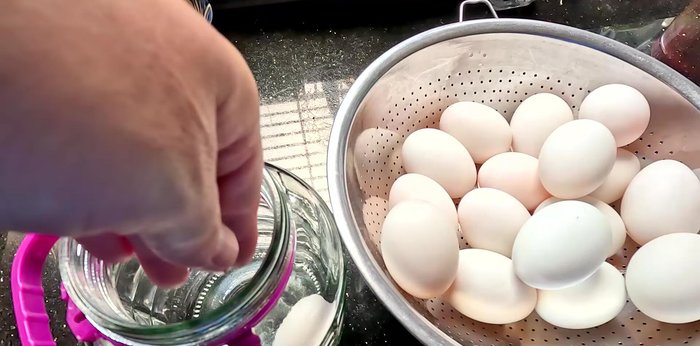
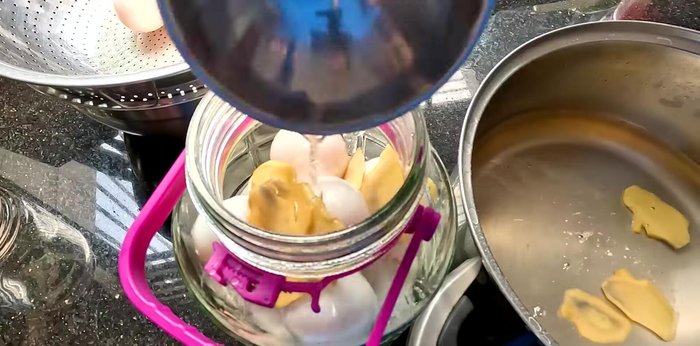
Step 3. Brine the Eggs
- Place the eggs in a jar. Add the ginger slices to the jar.
- Pour the cooled brine over the eggs, ensuring they are fully submerged. Cover the jar.
- Store the jar in a dark, cool place for 1-1.5 months (45 days).
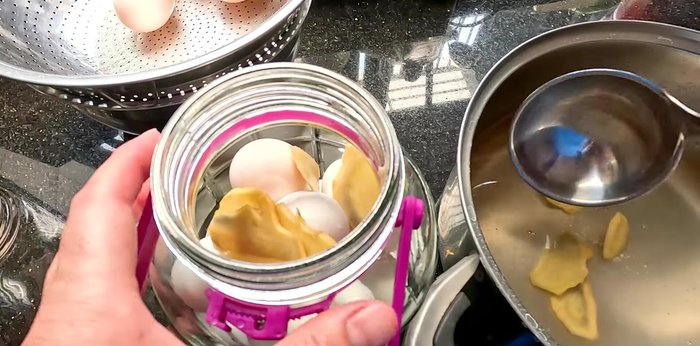
Step 4. Cook, Cool, and Store
- After 1-1.5 months, boil the eggs for 20 minutes over low heat. Let cool.
- Peel and separate the yolks from the whites, if desired. Store yolks in the freezer for later use.


Read more: Crunchy Pickled Firecracker Eggplant: A Vietnamese Recipe
Tips
- Thoroughly wash the duck eggs to avoid a fishy taste. Using white wine helps sterilize the eggshells.
- Ginger helps eliminate fishy odors. Use sea salt for a milder flavor.
- Ensure the eggs are completely submerged in the brine to prevent spoilage. The longer you soak them, the saltier they will be.
- Boil the salted eggs gently for about 20 minutes to prevent cracking. It takes longer to cook than fresh eggs.
Nutrition
- N/A
FAQs
1. Why do some homemade salted duck eggs smell fishy?
A fishy smell usually indicates the eggs weren't fresh enough or the salting process wasn't properly executed (e.g., insufficient salt or improper curing time/temperature). Ensure you use very fresh eggs and follow the recipe meticulously.
2. How long can I store homemade salted duck eggs?
Properly preserved salted duck eggs can last for 1-2 months in a cool, dry place. Refrigerate them after opening for optimal freshness.
Making your own salted duck eggs is a rewarding experience, resulting in a delicious and uniquely flavorful treat. Enjoy the satisfying crunch of the salted whites and the luxuriously creamy yolks in your favorite dishes. Now that you've mastered this recipe, experiment with different curing times to find your perfect level of saltiness!