Escape the summer heat with a cool and creamy treat that's both exotic and incredibly satisfying: homemade taro coconut milk ice cream! This delightful dessert combines the subtly sweet and earthy flavor of taro with the rich creaminess of coconut milk, creating a taste sensation that's both refreshing and uniquely delicious. Forget expensive store-bought ice cream – this recipe is surprisingly easy to make, using readily available ingredients and requiring minimal equipment. It's the perfect blend of simplicity and indulgence, ideal for a hot summer day or a special occasion.
The vibrant purple hue of the taro adds a visual appeal to match its delicious taste, making it a showstopper dessert. This recipe offers a healthier alternative to traditional ice cream, reducing the reliance on heavy cream and artificial ingredients. Ready to indulge in this creamy, dreamy delight? Let's dive into the step-by-step instructions and create your own batch of irresistible taro coconut milk ice cream.
Tools Needed
- Steamer
- Pot
- Blender
- Ice cream mold or freezer bags
- Sieve
Ingredients
- Taro: 500-600 grams
- Purple Sweet Potato: 100-150 grams
- Taro Powder: 50 grams
- Coconut Milk: 400 ml
- Sweetened Condensed Milk: 380 grams (about 2/3 of a can)
- Gelatin Leaves: 5
- Cornstarch: 20 grams
- Fresh Milk: 4 packs (approx. 880ml)
- Yogurt: 200 grams
- Dried Coconut: half a coconut, grated
- Sugar: 2-3 tablespoons
Step-by-Step Instructions
Step 1. Prepare the Taro and Coconut Cream Bases
- Steam the taro and purple sweet potato until cooked and soft.
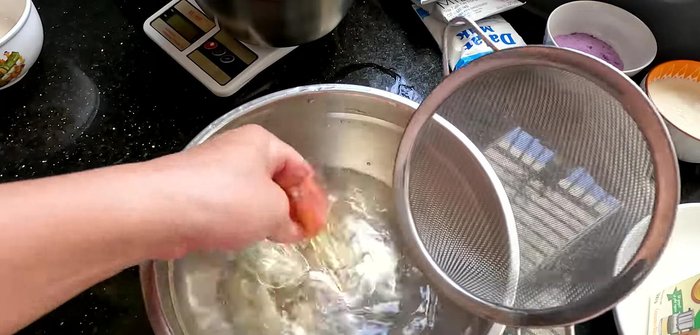
- Soak gelatin leaves in water for 1-2 minutes to soften, then drain.
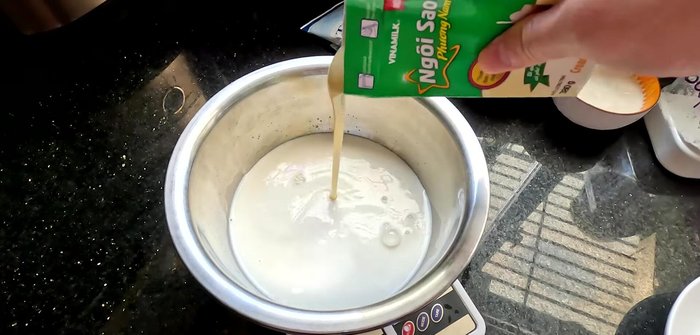
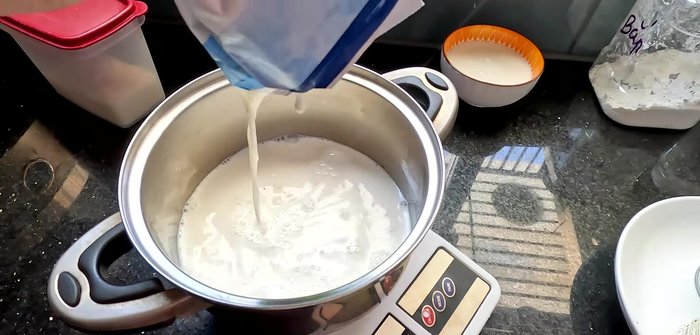
- Combine two packs of fresh milk, 2/3 of a can of condensed milk, 2/3 of a can of coconut milk, sugar, cornstarch, and taro powder. Stir well until dissolved.
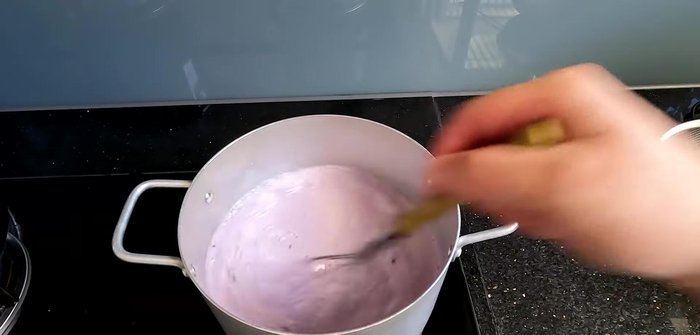
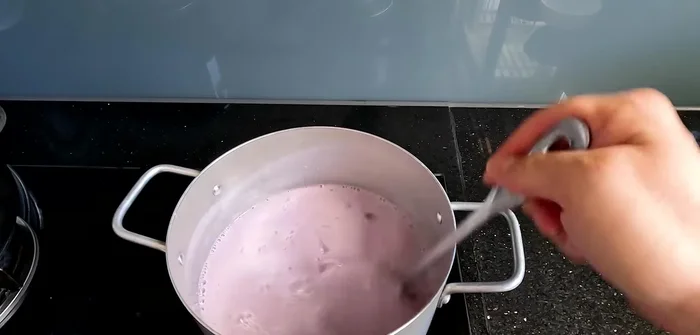
- Cook the taro cream sauce over low heat until it boils and thickens (about 10-15 minutes), stirring constantly. Add the softened gelatin leaves during the last 2-3 minutes of cooking.

- Let the taro cream sauce cool completely.
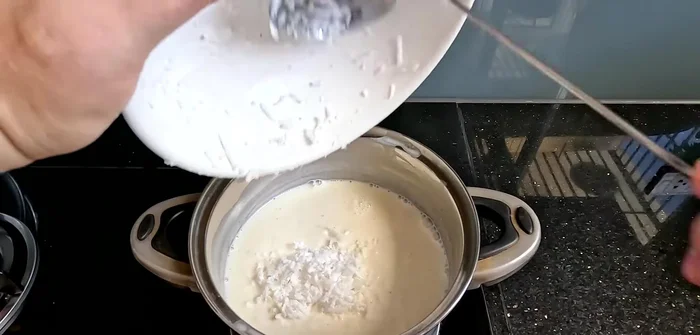
- Combine two packs of fresh milk, the remaining condensed milk and coconut milk, cornstarch, sugar, and yogurt. Cook over low heat until thickened (about 10-15 minutes), stirring constantly. Add grated coconut during the last 1-2 minutes.
- Let the coconut cream sauce cool completely.
Step 2. Blend Taro Mixture
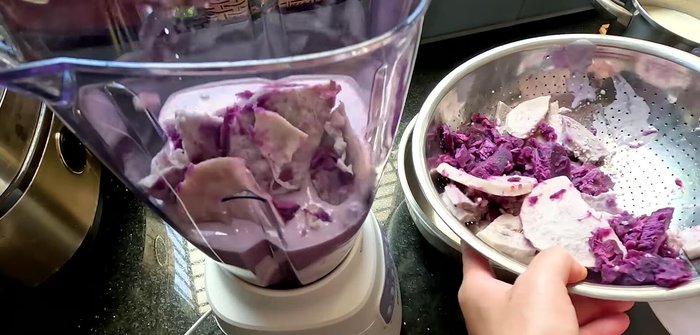
- Blend the cooled taro cream sauce with the steamed taro and purple sweet potato until smooth.
Step 3. Layer and Freeze
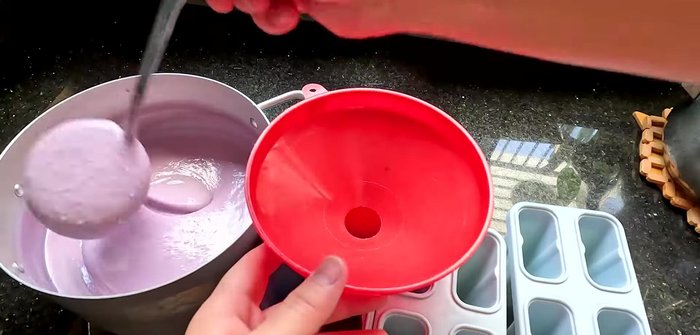
- Layer the taro and coconut mixtures in an ice cream mold or freezer bags. Freeze for at least 3 hours or overnight.
Read more: Vietnamese Sponge Wedding Cake: A Step-by-Step Guide
Tips
- Soak peeled taro in diluted lemon juice to prevent discoloration.
- Purple sweet potato adds elasticity, reduces hardness, and enhances the color of the ice cream.
- Make the ice cream slightly sweeter than usual, as it will become less sweet when frozen.
- Using fresh coconut milk will result in a richer, creamier ice cream.
- Don't overcook the grated coconut; it should be slightly cooked but still slightly crispy.
- Soaking the ice cream mold in warm water for 1-2 minutes makes it easier to remove the ice cream.
Nutrition
- N/A
FAQs
1. Can I use frozen taro instead of cooked taro?
Yes, you can! Using frozen taro will save you cooking time. Just make sure it's fully thawed and well-drained before adding it to the recipe.
2. What can I substitute for coconut milk?
While coconut milk provides the best flavor and texture, you could try full-fat coconut cream or even heavy cream as a substitute, but the taste will be different.
3. How long can I store the ice cream?
Store your homemade taro coconut milk ice cream in an airtight container in the freezer for up to 2 weeks.
So there you have it – a simple yet incredibly rewarding recipe for homemade taro coconut milk ice cream. This delightful dessert is perfect for satisfying your sweet tooth while impressing your friends and family. Enjoy this refreshing treat all summer long!