Indulge in the creamy, dreamy delight of homemade taro ice cream! This vibrant purple treat, bursting with the unique earthy sweetness of taro root, is surprisingly simple to make. Forget the artificial flavors and preservatives of store-bought ice cream; this recipe delivers a truly authentic and intensely flavorful experience. The rich, naturally sweet taste of taro is perfectly balanced, creating a dessert that's both comforting and sophisticated. Whether you're a seasoned ice cream maker or a complete beginner, this recipe is designed for success.
This homemade taro ice cream recipe uses simple ingredients and readily available equipment, resulting in a smooth and creamy texture that will leave you craving more. Ready to transform simple ingredients into a luxurious dessert? Let's dive into the step-by-step process to create your own batch of unforgettable taro ice cream.
Tools Needed
- Steamer
- Pot
- Blender
- Ice cream container or mold
Ingredients
- Taro: 500g
- Coconut milk: 400ml
- Sugar: 150g
- Condensed milk: 150g
- Salt: 1/3 teaspoon
- Purple leaf water or taro essence: 100ml or 1 teaspoon
- Fresh milk (unsweetened): 400ml
Step-by-Step Instructions
Step 1. Prepare the Taro and Coconut Milk
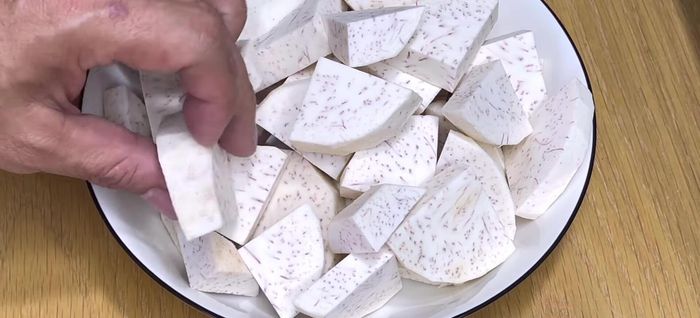
- Peel, wash, and cut into pieces. Steam for 20-25 minutes until soft.
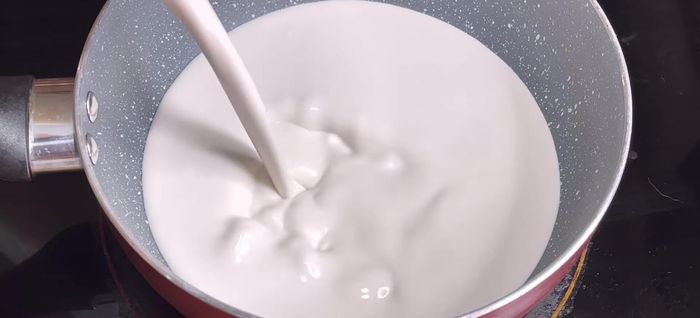
- Combine coconut milk, sugar, condensed milk, and salt in a pot. Cook on low heat, stirring until sugar and milk dissolve and mixture simmers. Set aside to cool.
Step 2. Blend the Taro Mixture
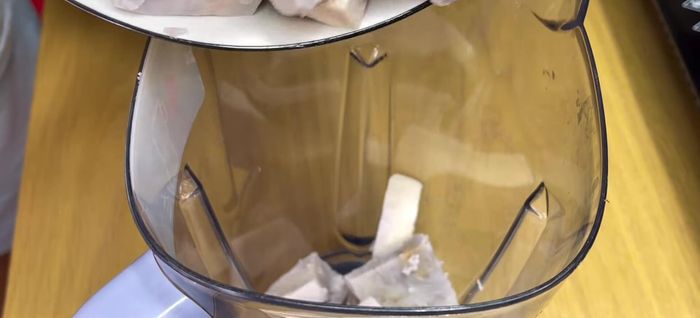
- Once the steamed taro has cooled slightly, blend it with purple leaf water (or taro essence) and fresh milk until smooth.
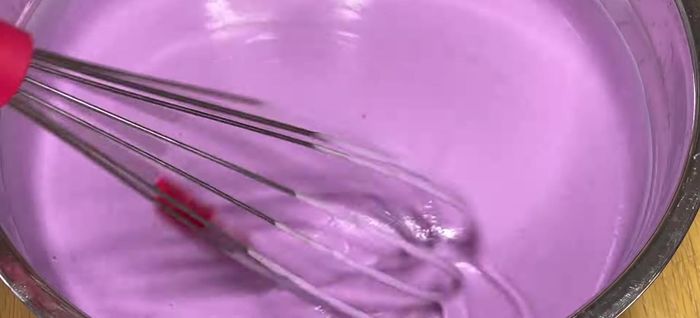
Step 3. Combine and Freeze
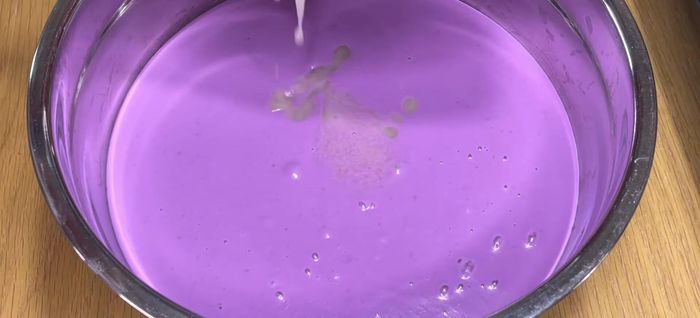
- Add the cooled coconut milk mixture to the blended taro mixture. Stir thoroughly to combine.
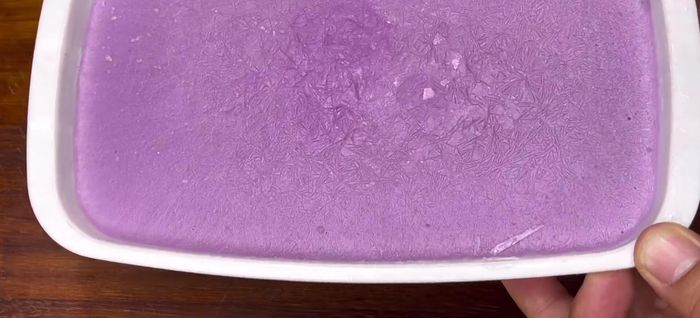
- Pour the mixture into an ice cream container or mold. Freeze for 8-10 hours, or overnight.
Step 4. Serve
- Before serving, let the ice cream sit in the refrigerator for 1-2 hours to soften for easier scooping.
Read more: Vietnamese Sponge Wedding Cake: A Step-by-Step Guide
Tips
- Adding purple leaf water or taro essence enhances the color and flavor of the ice cream.
- Taro naturally contains starch, so there's no need to add cornstarch to prevent ice crystals.
- You can use different molds or containers for freezing and serving.
Nutrition
- N/A
FAQs
1. Can I use frozen taro instead of cooking fresh taro?
Yes, you can! Using frozen taro will save you time on cooking. Just make sure it's fully thawed and well-drained before blending.
2. What can I do if my ice cream is too icy?
Your ice cream might be too icy if it wasn't churned long enough or if the mixture wasn't cold enough before churning. Try churning for a longer time or pre-chilling the mixture for a few hours.
3. Can I add other ingredients to this recipe?
Absolutely! Feel free to experiment. Coconut milk, other flavor extracts (like vanilla or almond), or even chunks of taro can be delicious additions.
Making homemade taro ice cream is a rewarding experience, resulting in a delicious treat that's far superior to store-bought versions. This recipe allows you to control the ingredients and sweetness, ensuring a perfectly customized dessert. Enjoy the creamy, vibrant purple goodness of your own homemade taro ice cream!