Dive into the delightful world of taro jelly, a unique and refreshing dessert that combines the creamy sweetness of taro with the satisfying jiggle of a perfect jelly. This vibrant purple treat, often overlooked in Western cuisine, offers a surprisingly versatile flavor profile that lends itself to countless variations. From its subtly earthy notes to its smooth, almost custard-like texture, taro jelly is a culinary adventure waiting to be explored. Imagine the delightful contrast between its soft interior and a crunchy topping – a perfect balance of textures and tastes that will tantalize your taste buds.
This irresistible dessert is surprisingly easy to make, even for novice cooks. Forget complicated recipes and long ingredient lists; this taro jelly recipe focuses on simplicity and maximum flavor. Ready to discover the secrets to creating this delicious treat? Let's jump right into the step-by-step guide to making your own batch of creamy, crunchy, and utterly cool taro jelly.
Tools Needed
- Pot
- Blender
- Molds
- Steamer
Ingredients
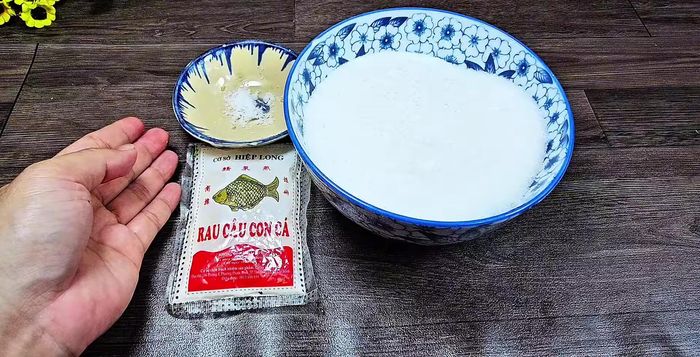
- Crispy jelly powder: 25g
- Salt: 1/4 teaspoon
- Sugar: 500g
- Water: 2 liters
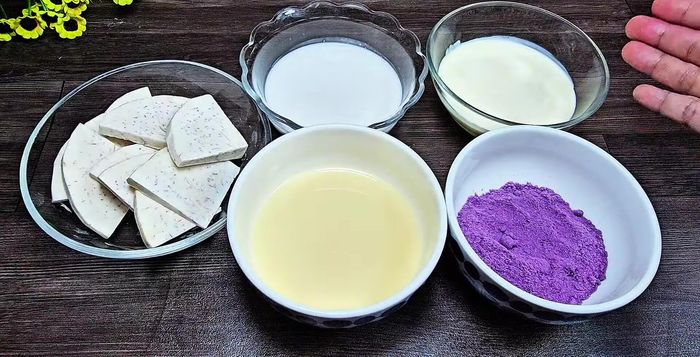
- Fresh taro: 100g
- Condensed milk: 200ml
- Coconut milk: 200ml
- Heavy cream: 100ml
- Taro powder: 3 tablespoons
Step-by-Step Instructions
Step 1. Prepare the Jelly and Taro Mixtures
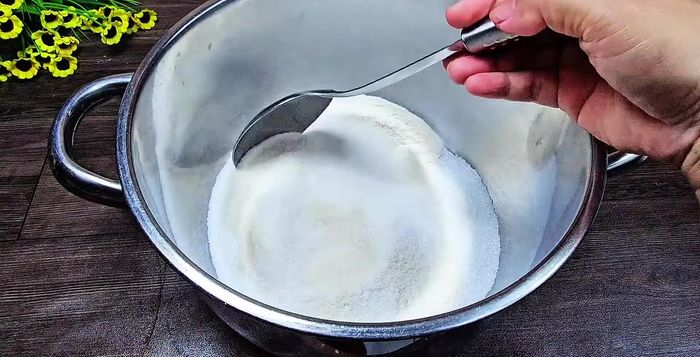
- Soak the crispy jelly powder with salt and sugar. Mix well.
- Add 2 liters of water to the jelly mixture and stir until dissolved. Let it sit for 30 minutes.
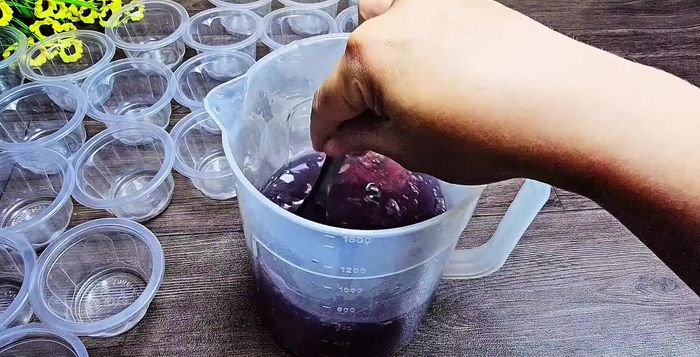
- Steam the taro until cooked. Blend the cooked taro with condensed milk, coconut milk, heavy cream, and taro powder until smooth.
Step 2. Cook and Layer the Jelly
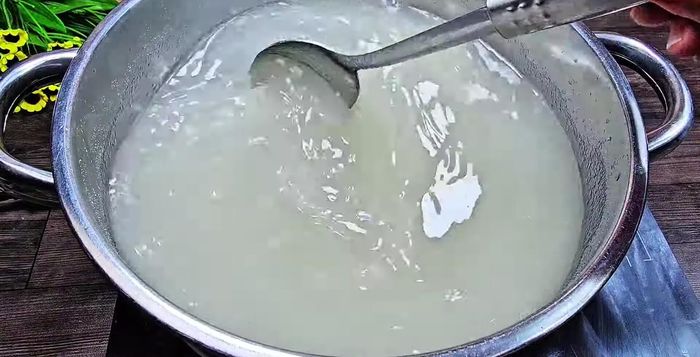
- Cook the jelly mixture on the stove, stirring frequently to prevent sticking. Skim off foam and cook for 20 minutes. Reduce heat to low to maintain heat.
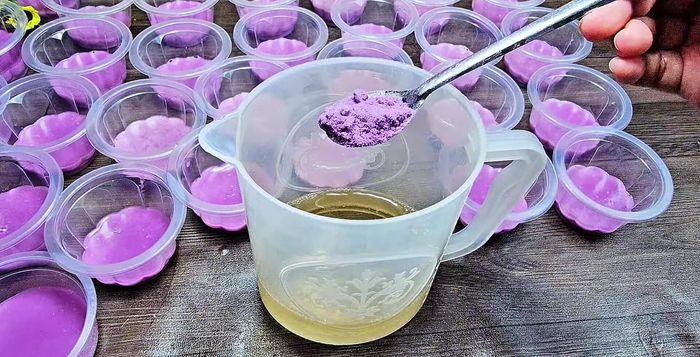
- Pour the purple taro layer into molds. Use approximately 650ml of jelly water and 1.5 tablespoons taro powder for this layer.
- Create additional layers with varying amounts of jelly water, taro powder, condensed milk, and coconut milk as specified in the video. Ensure sufficient mixture for the number of molds. The layers include a thin purple layer, a white layer, and a final taro layer.
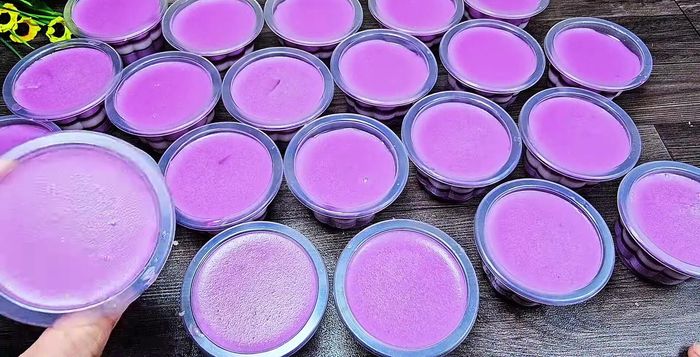
Step 3. Chill and Set
- Refrigerate overnight for optimal texture and flavor.
Read more: Vietnamese Sponge Wedding Cake: A Step-by-Step Guide
Tips
- Don't add too much water to the jelly, as it will make the jelly too soft. Adding milk and coconut milk later compensates for a reduced water amount.
- Blend the taro mixture until completely smooth for a smoother jelly texture.
- Stir the jelly mixture evenly while cooking to prevent sticking.
- Reduce the heat to low after boiling to prevent the jelly from solidifying too quickly.
- Adjust the amount of taro powder to achieve your desired color intensity.
- Pour the layers in thin amounts to create defined layers.
- Refrigerate overnight for best results.
Nutrition
- N/A
FAQs
1. Can I use pre-cooked taro?
Yes! Using pre-cooked taro will significantly reduce prep time. Just make sure it's well-mashed before adding it to the jelly mixture.
2. How do I make the jelly crunchy?
The crunch comes from toppings! Consider adding ingredients like toasted nuts, coconut flakes, or even small pieces of crunchy candy after the jelly has set.
So there you have it – a simple yet incredibly rewarding taro jelly recipe that's sure to impress. Enjoy the delightful combination of creamy taro and your chosen crunchy topping; it's the perfect treat for any occasion. Now go forth and create your own masterpiece of cool, refreshing taro jelly!