Craving the irresistible sweetness and texture of fluffy pork floss, or chà bông? This beloved Vietnamese condiment is incredibly versatile, perfect for topping rice dishes, adding a savory crunch to baked goods, or simply enjoying as a delicious snack. Traditionally made using time-consuming methods, this recipe unveils a streamlined approach to achieving perfectly fluffy, melt-in-your-mouth pork floss. We'll bypass the tedious hand-pulling techniques, opting for a clever method that delivers exceptional results with significantly less effort.
Forget everything you think you know about making chà bông. This recipe simplifies the process while maintaining the authentic flavor and delightful texture you expect. We'll guide you through each step, from selecting the right cut of pork to achieving the ideal fluffiness. Ready to create your own batch of this addictive treat? Let's dive into the detailed step-by-step instructions below!
Tools Needed
- Pot
- Chopsticks
- Bag
- Wooden box/Rolling pin
- Food processor (optional)
Ingredients
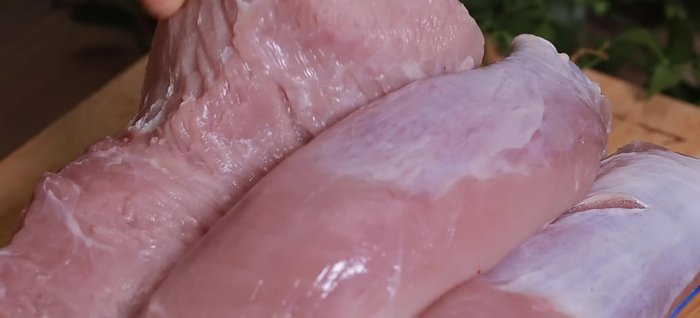
- Pork tenderloin/tender meat: 1 kg
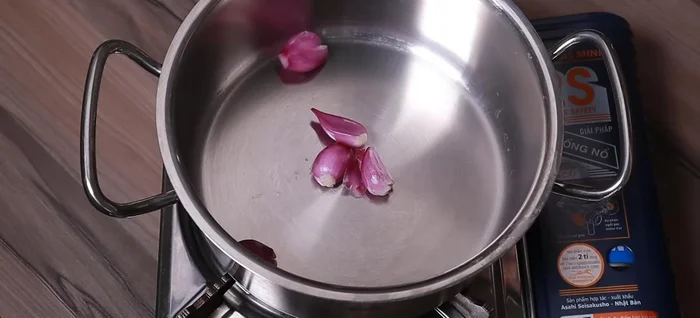
- Shallots: 4
- Cooking oil: 1 tbsp
- Water: 2/3 bottle
- Sugar: 5 tbsp
- Soy sauce: 3 tbsp
- Fish sauce: 3 tbsp
- Seasoning powder: 2 tbsp
- Annatto oil: 1 tbsp
- Turmeric powder: optional, a little
- Garlic powder: 1/2 tsp
- Five-spice powder: 1/2 tsp
- Cinnamon powder: 1/2 tsp
Step-by-Step Instructions
Step 1. Prepare and Cook the Pork
- Cut 1 kg of tenderloin/tender meat into large, diagonal pieces. Avoid cutting too small, as the meat will shrink during cooking.
- Heat 1 tbsp of cooking oil in a pot. Add 4 chopped shallots and stir-fry until fragrant. Add the pork and stir-fry until lightly browned.
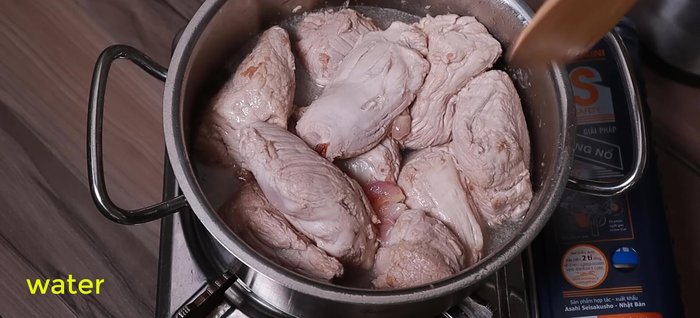
- Add 2/3 of a bottle of water to the pot. Bring to a boil, then reduce heat and simmer until the pork is almost tender and the liquid is mostly absorbed. Do not add spices at this stage.
Step 2. Shred and Season the Pork
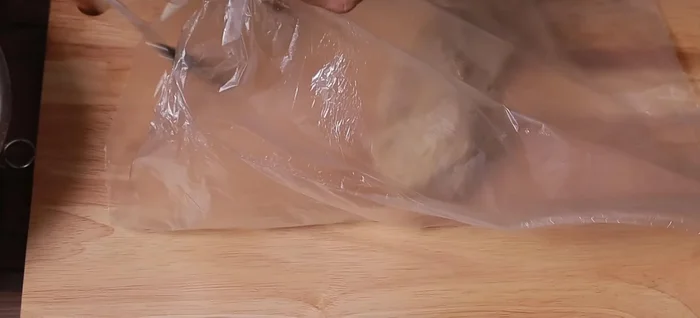
- While the meat is still warm, place it in a bag and use a rolling pin or wooden mallet to shred the pork into smaller pieces. Work quickly to prevent the meat from cooling.
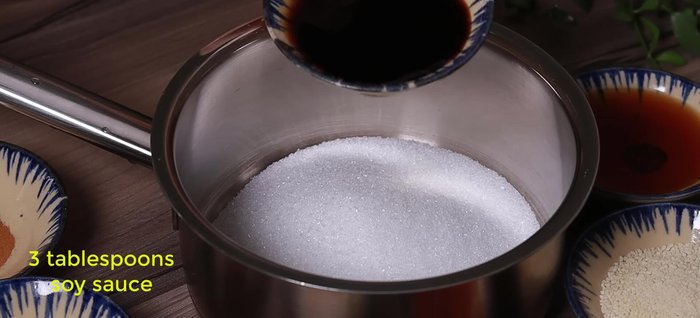
- In a bowl, combine 5 tbsp sugar, 3 tbsp soy sauce, 3 tbsp fish sauce, 2 tbsp seasoning powder, 1 tbsp annatto oil, a little turmeric powder (optional), 1/2 tsp garlic powder, 1/2 tsp five-spice powder, and 1/2 tsp cinnamon powder. Stir until the sugar dissolves.
Step 3. Dry Fry the Pork Floss in Batches
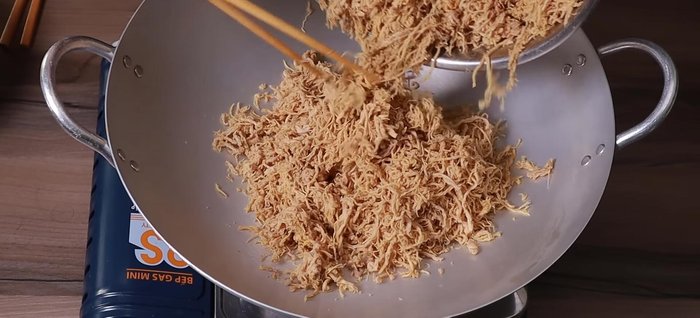
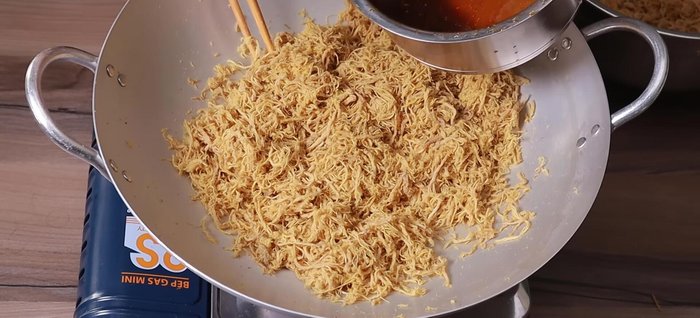
- Divide the shredded pork into two batches. Add half of the pork and half of the spice mixture to a pan. Cook over medium-low heat until the pork starts to slightly dry and fluff up, stirring frequently. Turn off heat once the pork is fluffy.
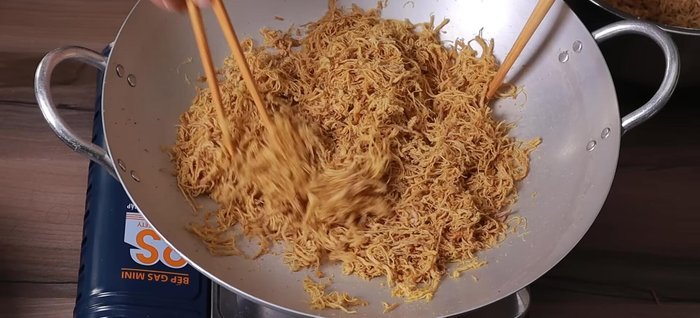
- Add the remaining half of the spice mixture and the second batch of pork. Cook over medium-low heat, stirring frequently until the pork is completely dry, fluffy, and fragrant.
Step 4. Fluff, Cool, and Store
- Once the floss is cooked, use chopsticks to fluff and separate the strands. Let the floss cool completely on a tray before storing in the refrigerator.
Read more: Crispy Tofu with Onions: A Delicious Vietnamese Beer Snack
Tips
- Cut pork into large pieces initially to prevent it from becoming dry.
- Don't add spices during the initial simmering; this enhances the flavor.
- Work quickly to shred the pork while it's still warm to maintain texture.
- Use a food processor for a quicker and more even shredding process.
- Add spices in two batches to maintain aroma and moisture.
- Don't overcook; slightly less-dry floss is more tender and flavorful.
Nutrition
- N/A
FAQs
1. Can I use a different cut of pork for this recipe?
While pork shoulder is ideal for its fat content, you can experiment with other cuts like pork butt or even tenderloin. Just be aware that leaner cuts might require more careful cooking to prevent dryness.
2. How long does the pork floss keep?
Store your homemade pork floss in an airtight container at room temperature for up to 2 weeks, or in the refrigerator for up to a month. Freezing is also an option for longer storage.
Congratulations! You've now mastered the art of making incredibly fluffy and delicious chà bông using this simplified method. Enjoy the satisfying results of your homemade pork floss, adding a touch of Vietnamese delight to your favorite dishes. Share your creations and newfound expertise with friends and family – happy cooking!