Corn milk, a creamy and subtly sweet beverage, is a delicious and surprisingly versatile drink enjoyed for centuries. Often overlooked in Western cuisine, it offers a unique and refreshing alternative to traditional dairy milk, boasting a naturally smooth texture and a slightly nutty flavor. Rich in vitamins and minerals, corn milk is not only a tasty treat but also a nutritious addition to your diet. It can be used in a variety of recipes, from smoothies and desserts to savory dishes, adding a touch of sweetness and creaminess wherever it's used. Forget watery, disappointing results; this article will guide you towards achieving perfectly creamy, delicious corn milk every time.
This comprehensive guide will walk you through a foolproof method for making corn milk, eliminating the common problem of water separation. We'll cover everything from selecting the best corn to mastering the simple yet crucial steps that unlock the drink's full potential. Prepare to be amazed by the ease and satisfying results as you discover the secrets to creating this delightful and healthy beverage. Let's begin!
Tools Needed
- Knife
- Blender
- Cloth bag or fine-mesh sieve
- Pot
- Mortar and pestle (optional)
Ingredients
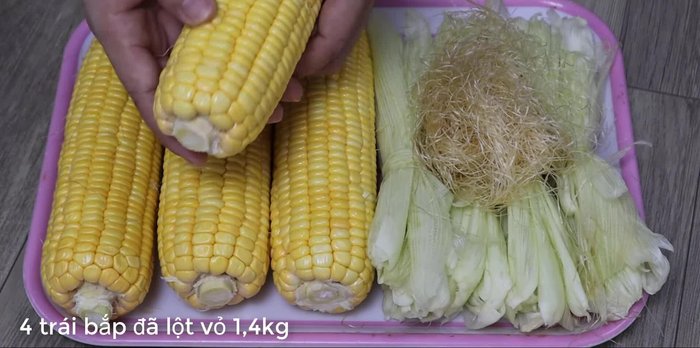
- American Corn (old corn preferred): 4
- Corn silk and young corn leaves
- Filtered water: 2 liters + 1 liter
- Rock sugar: 100g
- Salt
- Milk: 200g
- Pineapple ice
- Pandan leaves (optional)
- Cornstarch (optional): 2 teaspoons
Step-by-Step Instructions
Step 1. Prepare and Blend the Corn
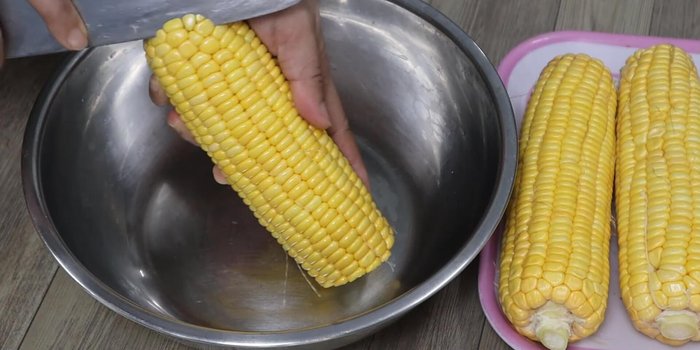
- Prepare four old American corns. Old corns are preferred as they are more elastic and produce a creamier milk.
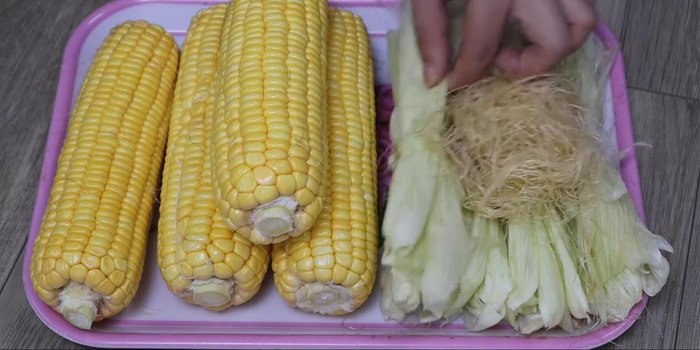
- Peel the corn, keeping the corn silk, young corn leaves, and cob for later use.
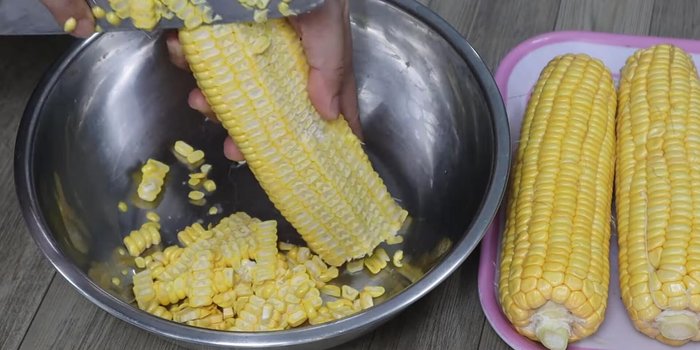
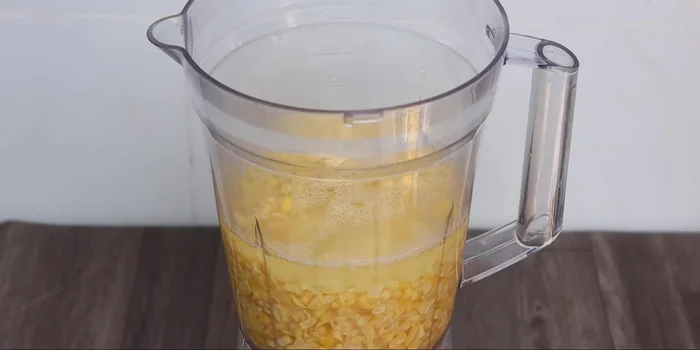
- Cut the corn kernels into small pieces.
- Blend the corn kernels until slightly cloudy. If using younger corn or unsure of the corn's age, add 2 teaspoons of cornstarch to help prevent separation.
Step 2. Infuse and Combine Corn Water
- Place corn cobs, husks, and silk into a pot with 2 liters of filtered water. Boil for 20 minutes to extract sweetness and aroma.
- Remove the corn cobs, husks, and silk. Let the corn water cool slightly.
- Combine the blended corn with the corn water and grind again until smooth.


Step 3. Strain and Sweeten
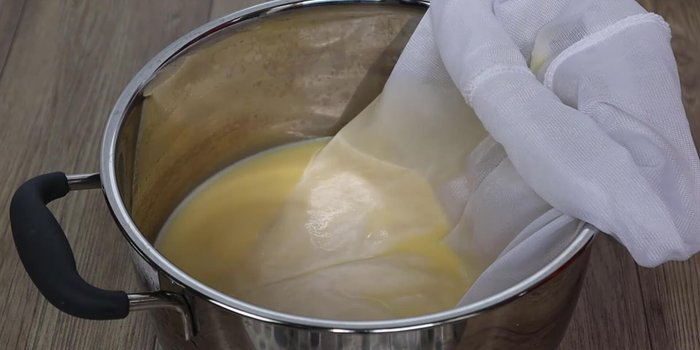
- Strain the mixture through a cloth bag or fine-mesh sieve to remove any solids.
- If necessary, repeat the straining process several times for a smoother consistency. Squeeze out as much liquid as possible. Add another liter of water to the remaining pulp and repeat the straining process.
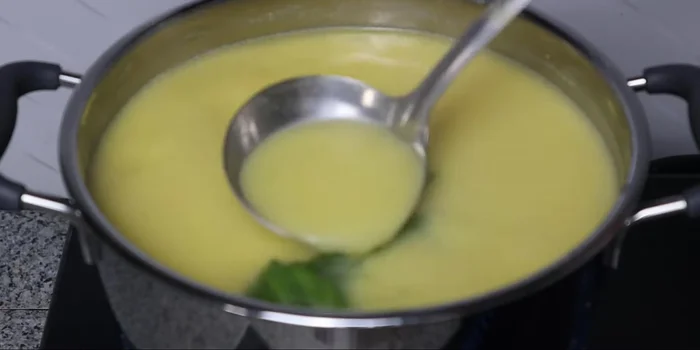
- Combine the strained corn milk in a pot. Add 100g of rock sugar (or granulated sugar), a pinch of salt, 200g of milk, pineapple ice, and pandan leaves (optional).


Step 4. Cook and Cool
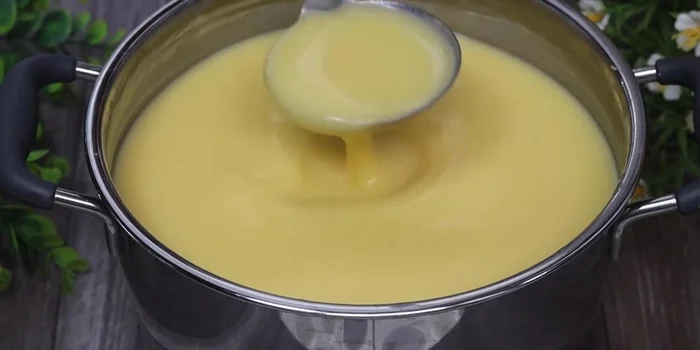
- Cook the corn milk until it has reduced and thickened, about 1-2 minutes. The total cooking time will be about 15 minutes.
- Once cooled, pour the corn milk into bottles or containers. Refrigerate for 4-5 days for storage.
Read more: Quick & Easy Dry Chicken Noodle Pho Recipe
Tips
- Using old corn results in a creamier, less watery corn milk.
- Adding cornstarch helps prevent separation, especially if using younger corn.
- Strain the mixture thoroughly for a smooth and delicious corn milk.
Nutrition
- N/A
FAQs
1. Why does my corn milk separate?
Water separation usually happens because the corn wasn't properly blended or cooked. Make sure to blend until completely smooth and cook the corn long enough to release its starches.
2. Can I use any type of corn for corn milk?
Sweet corn is best for making corn milk due to its naturally higher sugar content, which contributes to the sweetness and creaminess. Avoid using field corn.
3. How long does homemade corn milk last?
Homemade corn milk should be refrigerated and consumed within 3-4 days for optimal freshness and flavor. It's best to make smaller batches.
Making delicious, creamy corn milk at home is easier than you think! With this guide, you can now enjoy a refreshing and nutritious beverage, free from the frustrating problem of water separation. So, grab some sweet corn and start experimenting – your taste buds will thank you.