Forget watery, bland yogurt! This recipe unveils the secret to creamy, tangy dry yogurt – made without adding any extra water. Using a simple no-water method, you can transform plain milk into a delicious, thick yogurt that’s perfect for topping your favorite desserts, creating healthy smoothies, or simply enjoying by the spoonful. This method bypasses the common pitfalls of traditional yogurt making, resulting in a consistently perfect texture every time, regardless of your kitchen climate or experience level. Say goodbye to runny disappointments and hello to a yogurt revolution!
This recipe utilizes a unique technique to achieve optimal dryness and thickness, eliminating the need for straining or complicated equipment. We'll guide you through each step, from preparing your milk to cultivating the perfect yogurt culture. Ready to experience the joy of perfectly thick, dry yogurt? Let's get started with our easy, step-by-step instructions.
Tools Needed
- Glass jar or plastic jar
- Pot
- Stove
- Insulated container
Ingredients
- Fresh Milk: 1 liter
- Condensed Milk: ½ can (approx. 38g)
- Yogurt Starter: 2 jars (optional, 1 jar for slower fermentation)
Step-by-Step Instructions
Step 1. Prepare and Combine Ingredients
- Sterilize a glass jar by boiling it in water . Turn upside down to drain .
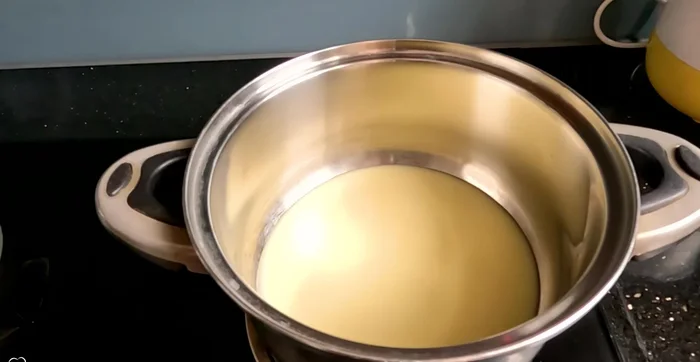
- In a pot, heat ½ can of condensed milk (or use sugar instead) until warm .
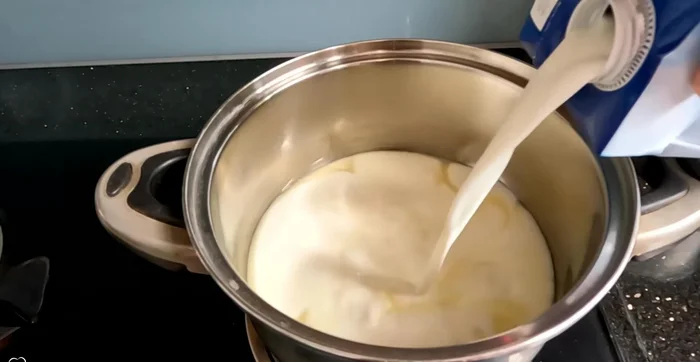
- Add 1 liter of fresh milk to the warm condensed milk. Heat for about 1 minute until warm . If refrigerated, heat for 2-3 minutes .
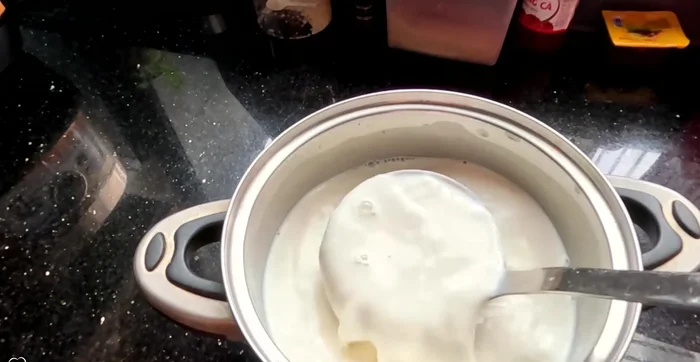
- Remove from heat and stir in your chosen amount of yogurt starter . Stir well to dissolve completely .


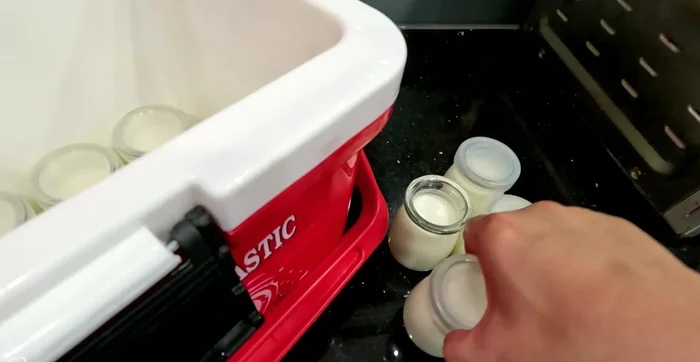
Step 2. Incubate the Yogurt
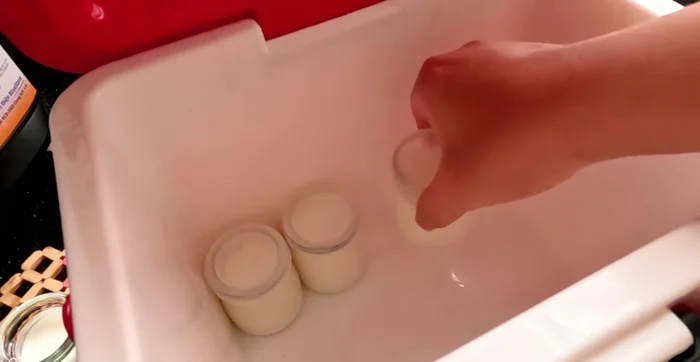
- Pour the mixture into the sterilized jars .
- Place the jars in an insulated container . Arrange close together to retain heat . Cover and incubate for 8-10 hours or longer for a more sour yogurt .
Step 3. Cool and Chill
- After incubation, remove jars and let them sit at room temperature for 2-4 hours before refrigerating . This helps achieve a smooth texture .
Read more: Quick & Easy Dry Chicken Noodle Pho Recipe
Tips
- Check temperature: Test the warmth of the milk mixture by dropping a small amount onto your hand . It should feel warm, not hot or cold .
- Fermentation time: The longer the incubation time, the more sour the yogurt will be .
- Covering jars: Covering the jars during incubation helps maintain hygiene , but it's not strictly necessary .
- Dry incubation advantages: The dry method avoids the temperature fluctuations and evaporation problems associated with water baths .
Nutrition
- N/A
FAQs
1. Can I use any type of milk for dry yogurt?
While whole milk works best for creaminess, you can experiment with other milks like 2% or skim. Just know that the final yogurt will be slightly less thick with lower-fat milks.
2. What if my yogurt doesn't thicken enough?
This could be due to insufficient incubation time or temperature. Ensure your milk was properly heated and that the yogurt incubated at the correct temperature for the specified duration. Try again, paying close attention to these details.
Making delicious, thick yogurt at home is now easier than ever. This no-water method guarantees creamy, tangy results every time, saving you money and offering complete control over ingredients. Enjoy your homemade dry yogurt – the possibilities for culinary creativity are endless!