The allure of crafting your own beverages is undeniable, and homemade rice wine offers a rewarding journey into the art of fermentation. This ancient process, passed down through generations, allows you to create a unique and flavorful drink tailored to your preferences, from the subtle sweetness of a delicate sake to the bolder notes of a more robust rice wine. Making your own rice wine at home is easier than you might think, requiring only a few readily available ingredients and a little patience. Beyond the satisfaction of creating something delicious from scratch, you'll gain a deeper appreciation for the nuances of this fascinating drink.
This article will guide you through the process of making your own homemade rice wine, from preparing the rice to the final fermentation and bottling. We'll cover four essential tips to ensure perfect results, helping you avoid common pitfalls and achieve a consistently delightful product. Ready to embark on this exciting culinary adventure? Let's delve into the step-by-step process.
Tools Needed
- Steamer
- Pot
- Tray
- Glass jar or plastic container
- Mortar and pestle (for grinding yeast)
Ingredients
- Sticky rice (any type): 1 kg
- Water: 1 cup
- Yeast: 10 grams
- Salt: 3-4 grams
- Pandanus leaves (optional): 5-7
- Sugar: 100 grams (for sugar water)
Step-by-Step Instructions
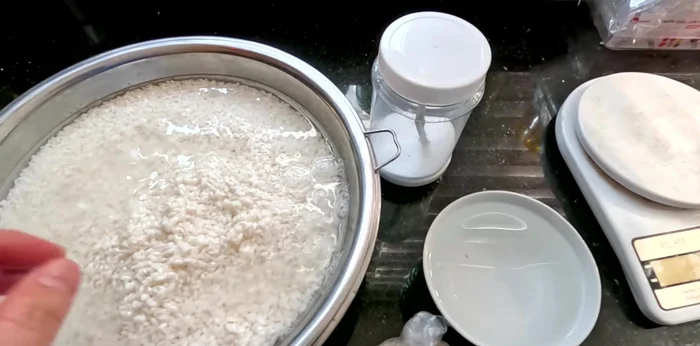
Step 1. Prepare the Rice
- Wash and soak sticky rice for 2-3 hours.
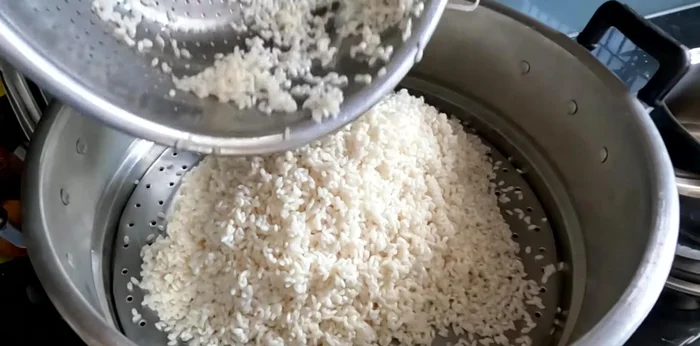
- Steam the rice in a steamer with 2 liters of water and optional pandan leaves for fragrance, 10-15 minutes at a time, stirring evenly every 10 minutes (to prevent uneven cooking) for about 3-4 times.
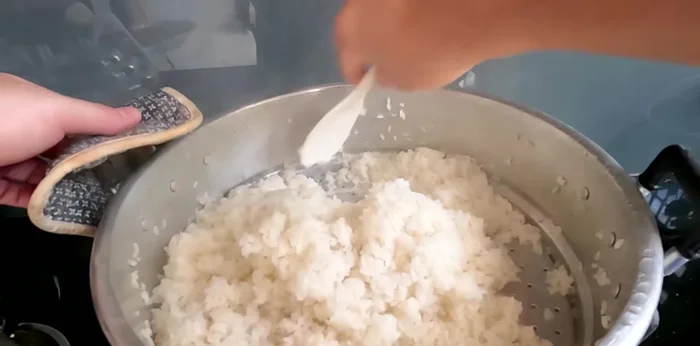
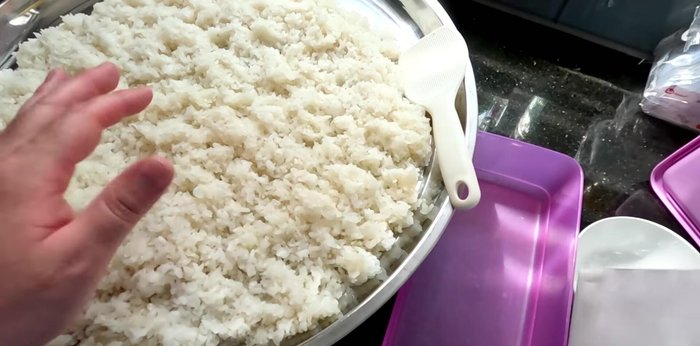
- Spread the cooked sticky rice on a tray to cool quickly and evenly (about 1-2 cm thick).
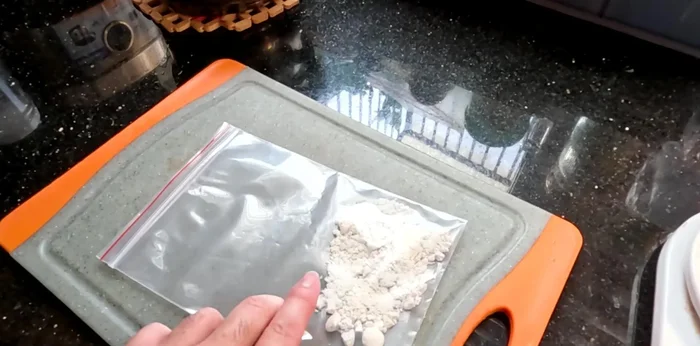
Step 2. Inoculate with Yeast
- Grind the yeast until smooth to ensure it dissolves properly and prevent bitterness.
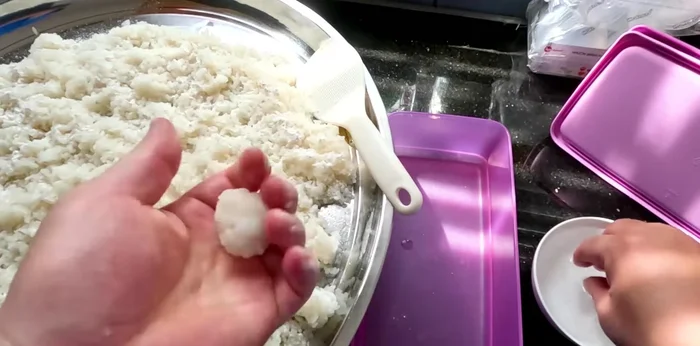
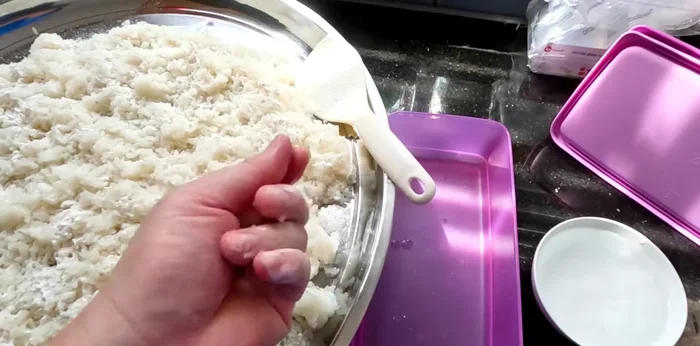
- Sprinkle the yeast evenly over the cooled sticky rice.
- Mix the sticky rice and yeast gently, ensuring even distribution.
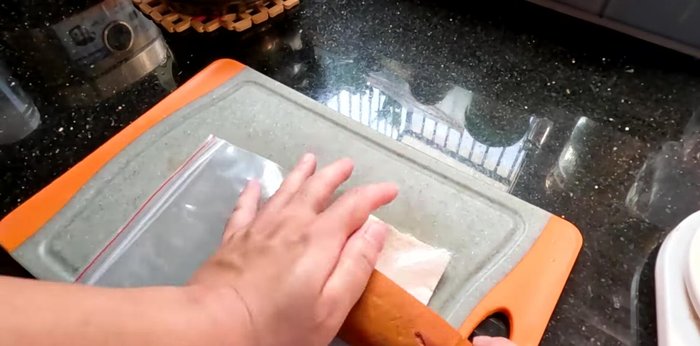
- Pack the mixture into jars or containers, pressing firmly to remove air pockets.
Step 3. Fermentation and Sweetening
- Store the rice wine in a dark, cool place for 3-4 days.
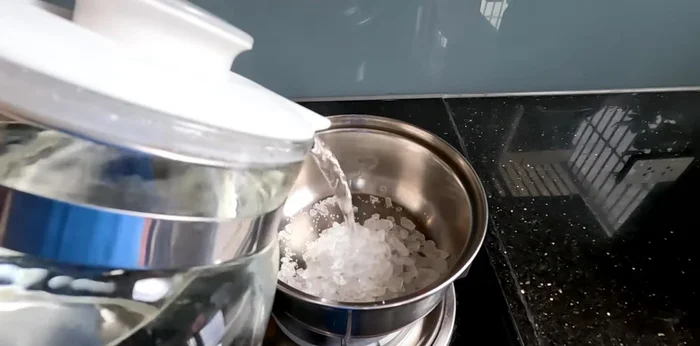
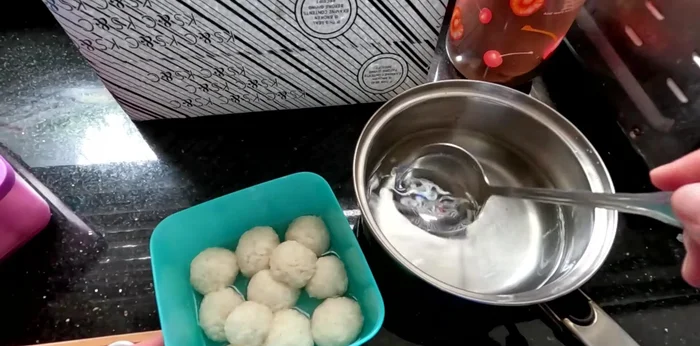
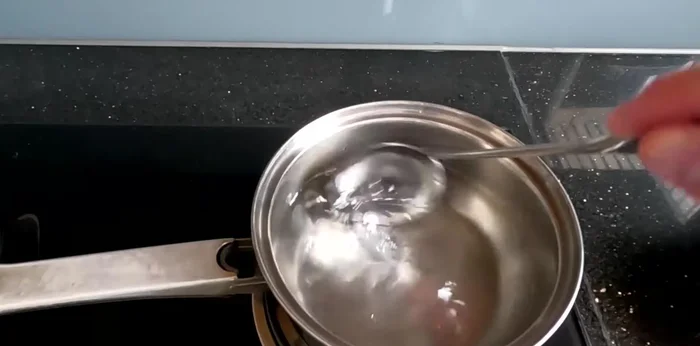
- Boil 100 grams of sugar in 500ml water for 3-4 minutes until the sugar dissolves completely. Let it cool.
- Add the cooled sugar water to the fermented rice wine.
Step 4. Aging and Storage
- Refrigerate the rice wine for up to 4 months.
Read more: Quick & Easy Dry Chicken Noodle Pho Recipe
Tips
- Using salt water helps prevent mold and spoilage.
- Don't open the container frequently during fermentation to prevent contamination.
- Use the correct amount of yeast to avoid bitterness. Too much yeast can result in a bitter taste.
- Avoid prolonged fermentation to prevent sourness.
- Protect the rice wine from direct sunlight to prevent yellowing.
Nutrition
- N/A
FAQs
1. How long does it take to make homemade rice wine?
The entire process, from preparing the rice to bottling, can take anywhere from 2-4 weeks, depending on the recipe and fermentation temperature. Patience is key!
2. What kind of rice should I use for making rice wine?
Glutinous rice (also known as sweet rice or sticky rice) is essential for making rice wine because of its high starch content. This provides the necessary sugars for fermentation.
3. Can I use store-bought yeast instead of a rice wine starter?
Yes, you can use commercially available wine yeast, but it's crucial to choose a yeast strain suitable for high-sugar environments, like those found in rice wine recipes. Check the yeast package for specific instructions.
Making homemade rice wine is a rewarding experience, allowing you to enjoy a unique and flavorful beverage crafted with your own hands. By following these four tips and paying attention to detail, you'll be well on your way to creating a delicious and satisfying rice wine. So raise a glass to your newfound brewing skills and savor the fruits of your labor!