Making yogurt at home might seem daunting, but with a rice cooker, it's surprisingly simple and yields incredibly smooth, creamy results. Forget expensive yogurt makers and complicated processes; your trusty rice cooker is all you need to transform simple milk into a delicious, healthy treat customized to your taste. This method eliminates the need for precise temperature control and offers a hands-off approach, perfect for busy schedules. You'll enjoy the satisfaction of knowing exactly what's in your yogurt, avoiding additives and preservatives commonly found in store-bought options.
This foolproof method allows you to experiment with different milk types and flavorings, creating your signature yogurt. Ready to transform your kitchen appliance into a yogurt-making marvel? Let's dive into the step-by-step process, guiding you through each stage to achieve perfectly creamy, homemade yogurt.
Tools Needed
- Rice cooker with a tight-fitting lid
- Pot
- Yogurt bags or containers
- Bottle (optional, for easier yogurt transfer)
- Spoon
- Wire or string for tying bags
Ingredients
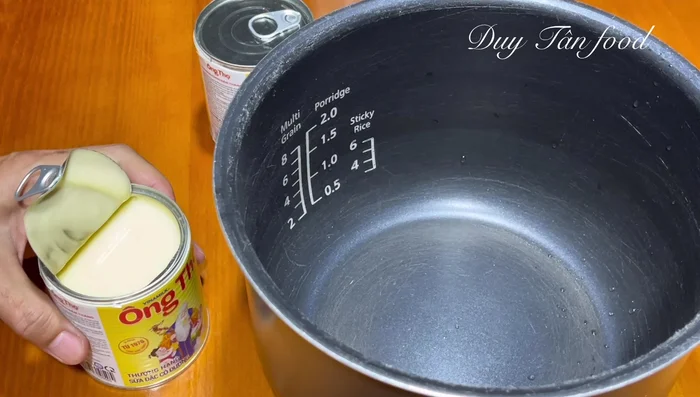
- Milk (Ong Tho brand recommended): 760g (2 cans of 380g each)
- Boiling water: 1520g (4 cans, same size as milk cans)
- Unsweetened fresh milk: 1 cup
- Yogurt starter: 2 boxes
- Fruits (optional)
Step-by-Step Instructions
Step 1. Prepare the Milk Mixture
- Sterilize the rice cooker pot by pouring boiling water into it. Let it warm up. Then pour out the water and wipe it clean.
- Pour the two cans of milk into the warmed pot.
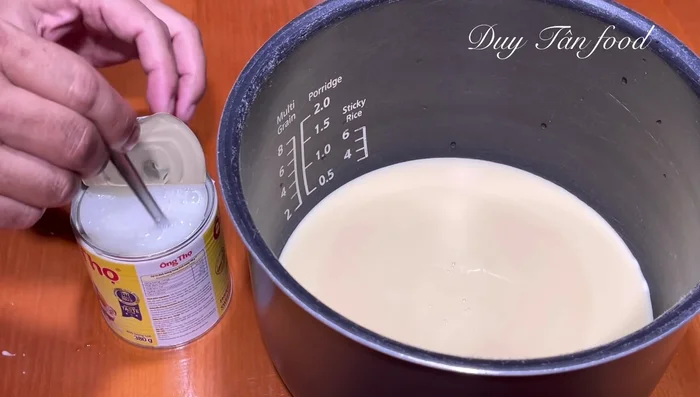
- Add four cans of boiling water to the milk. Stir gently to dissolve the milk mixture.
- Add 1 cup of unsweetened fresh milk (cooled if taken from the refrigerator). Stir until well combined.


Step 2. Inoculate and Ferment
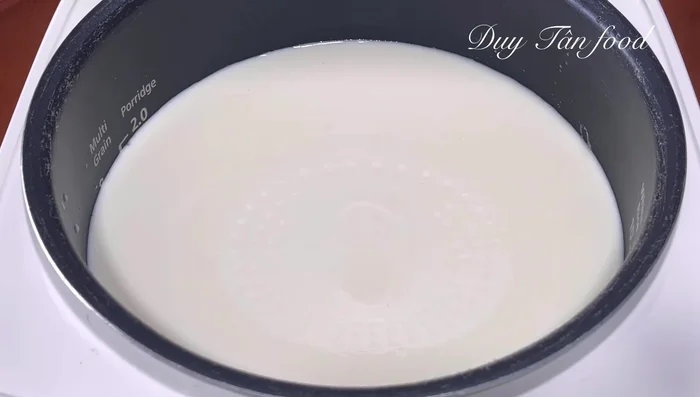
- Add the yogurt starter (ensure it's at room temperature). Stir gently in one direction until fully incorporated.
- Transfer the mixture to the rice cooker pot, close the lid tightly, and let it ferment for 10-12 hours (depending on desired sourness). Do not plug in the rice cooker.
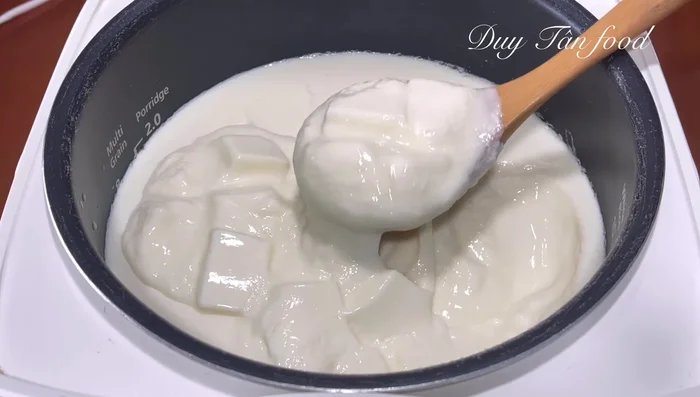
- After fermentation, check the yogurt's acidity. If needed, continue fermenting.


Step 3. Finish and Store
- Once ready, gently stir the yogurt to ensure even consistency.
- Transfer yogurt into bags or containers. Add fruits if desired. Seal bags tightly.
Read more: Quick & Easy Dry Chicken Noodle Pho Recipe
Tips
- Use a rice cooker with a tight-fitting lid, not a removable one. The pot must be airtight.
- Work quickly and seamlessly through the steps to maintain consistent warmth. Stopping can affect fermentation.
- Stir gently in one direction, especially when adding the yogurt starter.
- To prevent icy texture when freezing, refrigerate the yogurt for 4-5 hours before freezing, or freeze it in a small carton.
Nutrition
- N/A
FAQs
1. Can I use any type of milk to make yogurt in a rice cooker?
While whole milk works best for creaminess, you can experiment with other milks like 2% or skim. Note that lower-fat milks may result in a thinner yogurt.
2. What if my yogurt doesn't thicken?
This could be due to insufficient incubation time, using milk that's too low in fat, or an inactive yogurt starter. Try increasing the incubation time or using a different starter culture.
3. How long can I store homemade rice cooker yogurt?
Store your yogurt in an airtight container in the refrigerator for up to a week. It's best to consume it within 3-5 days for optimal freshness and taste.
Making yogurt in your rice cooker is a surprisingly simple and rewarding process, resulting in a delicious and healthy treat you can customize to your liking. With minimal effort and readily available ingredients, you can enjoy creamy, homemade yogurt whenever you crave it. So ditch the store-bought options and embark on your homemade yogurt journey today!