Indulge in the ultimate culinary experience with our crispy roast pork belly recipe – a dish that promises a symphony of textures and flavors. Imagine succulent, melt-in-your-mouth pork belly, its skin crackled to perfection, revealing a layer of irresistible crispiness. The rich, savory meat beneath is a testament to slow cooking, infused with aromatic herbs and spices. This isn't just a meal; it's a celebration of simple ingredients transformed into a truly unforgettable feast. Perfect for a special occasion or a weekend treat, this recipe is surprisingly easy to master.
Forget complicated techniques and long preparation times; this recipe guides you through every step, ensuring a flawless result every time. From preparing the pork belly to achieving that coveted crackling skin, we'll equip you with the knowledge and confidence to create a show-stopping dish your family and friends will rave about. Ready to embark on this delicious journey? Let's dive into the step-by-step process!
Tools Needed
- Pot
- Tattoo tool (or bamboo sticks/knife)
- Oven or Air Fryer
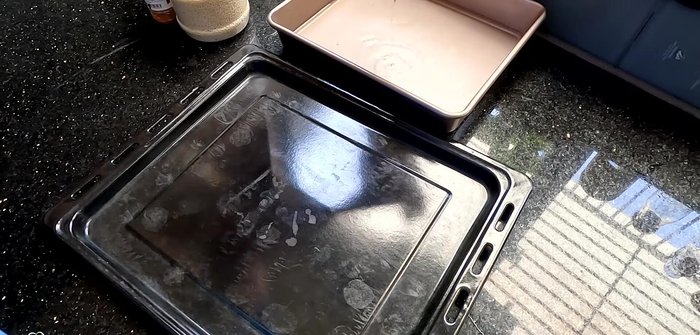
- Tray
- Towel
Ingredients
- Pork belly: 1.7 kg (or more)
- Shallots
- Garlic
- Five-spice powder
- Rice vinegar: 200ml
- Salt: 1/2 teaspoon
- Seasoning powder: 1 teaspoon
- Pepper
- Garlic powder
- Purple onions: 2-3
- Lemongrass stalks
- Sugar
- Oyster sauce: 1 tablespoon
- Chili sauce: 1 tablespoon
- Soy sauce: 1 tablespoon
- Honey
- Cornstarch
Step-by-Step Instructions
Step 1. Prepare the Pork Belly
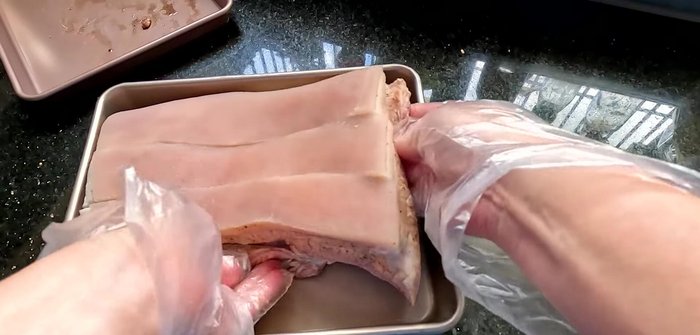
- Clean the pork belly thoroughly. Boil it for 10-15 minutes with 2-3 crushed purple onions and lemongrass stalks to remove any smell and soften the skin.
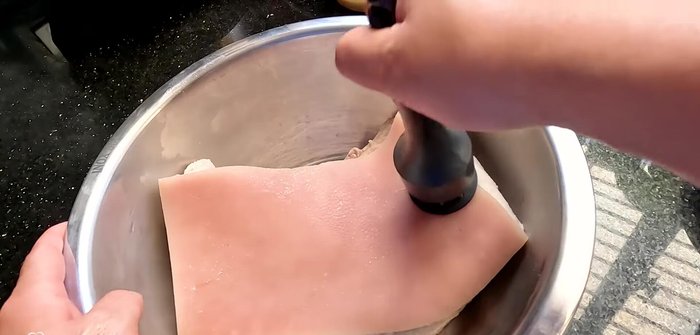
- Use a tattoo tool (or bamboo sticks/knife) to prick the skin all over. This helps the skin crisp up during roasting.
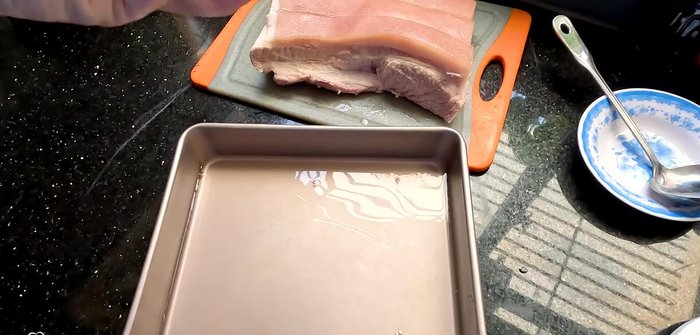
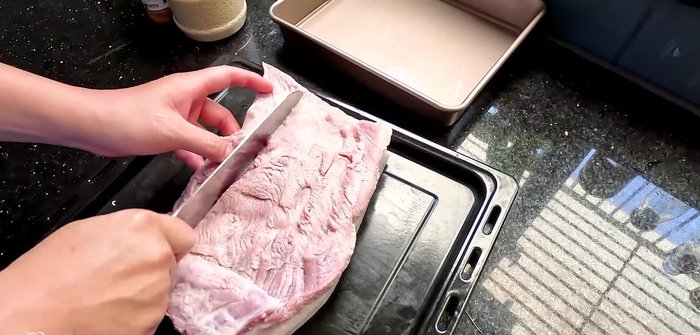
- Cut the pork belly into 3-4 pieces (depending on size).
- Soak the skin side in a mixture of 200ml rice vinegar and 1/2 teaspoon of salt for 15-20 minutes to dry the skin.


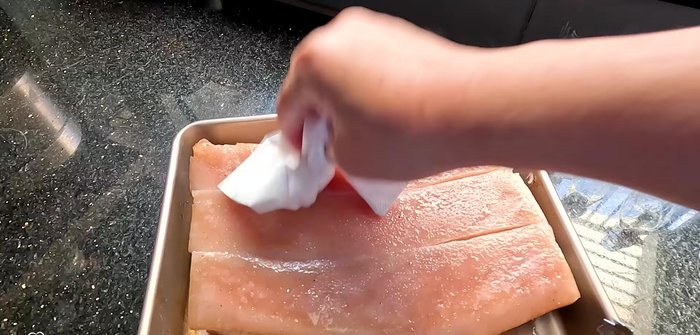
- Dry the skin with a towel.
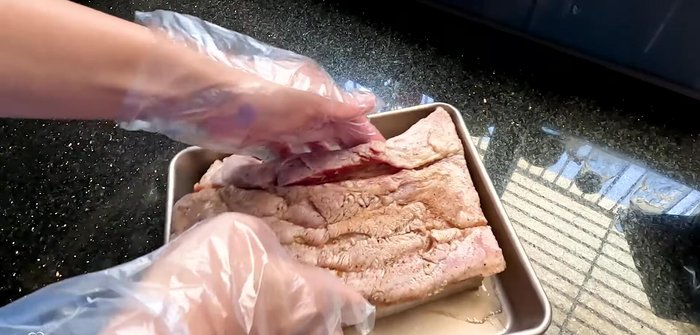
- Marinate the meat side with 1 teaspoon seasoning powder, 1 tablespoon salt, five-spice powder, pepper, and optional garlic powder for 1 hour or overnight. Don't marinate the skin.
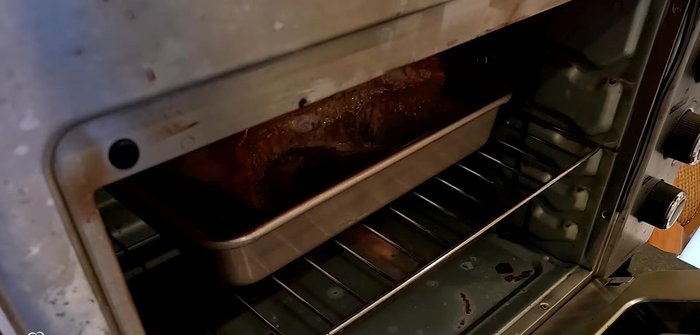
Step 2. Initial Roast: Dry and Crisp the Skin
- Preheat oven to 80-90°C. Roast the pork belly (skin-side up) for 45-50 minutes to dry the skin.
- Increase oven temperature to 200°C. Turn the meat-side up and roast for 20 minutes.
- Turn the skin-side up again. Dry the skin with a towel and continue roasting at 200°C for 20-30 minutes until the skin starts to crackle.
Step 3. Final Crisp and Rest
- Increase oven temperature to 220°C and roast for another 10-15 minutes until the skin is completely crispy.
- Let the roast pork cool down.
Read more: Quick & Easy Dry Chicken Noodle Pho Recipe
Tips
- If your pork belly has a strong smell, skip the initial boiling step.
- The longer you marinate the pork, the more flavorful it will be. You can marinate it overnight.
- If you don't have an oven, you can use an air fryer.
- For extra crispy skin, ensure the skin is completely dry before roasting.
- Use thin soy sauce for the dipping sauce, not thick soy sauce.
- Add cornstarch to the dipping sauce to thicken it.
Nutrition
- Calories: 700-900
- Fat: 60-80g
- Carbs: 10-20g
- Protein: 30-40g
FAQs
1. How do I achieve crispy pork belly skin?
Score the skin deeply, pat it completely dry, and then roast at a high temperature (around 400°F/200°C) for a good portion of the cooking time. This helps render the fat and crisp the skin.
2. What's the best way to cook pork belly to ensure it's tender?
Low and slow is key! A lower oven temperature (around 325°F/160°C) for a longer period allows the fat to render and the meat to become incredibly tender. You can also use a meat thermometer to ensure it reaches an internal temperature of 190-200°F (88-93°C).
3. Can I use leftover roast pork belly?
Absolutely! Leftover pork belly is delicious in sandwiches, salads, tacos, or even chopped up and added to fried rice. It also freezes well.
With its perfectly crisp skin and tender, flavorful meat, this roast pork belly is a guaranteed crowd-pleaser. This recipe proves that achieving restaurant-quality results at home is easier than you think. So, gather your ingredients, follow the steps, and prepare to be amazed by the deliciousness you create!